
6 Amazing Outdoor DIY Projects: Transforming Your Backyard Oasis
Transform your outdoor space with creative flair! Discover diverse, practical, and personalized Outdoor DIY Projects for your dream backyard.
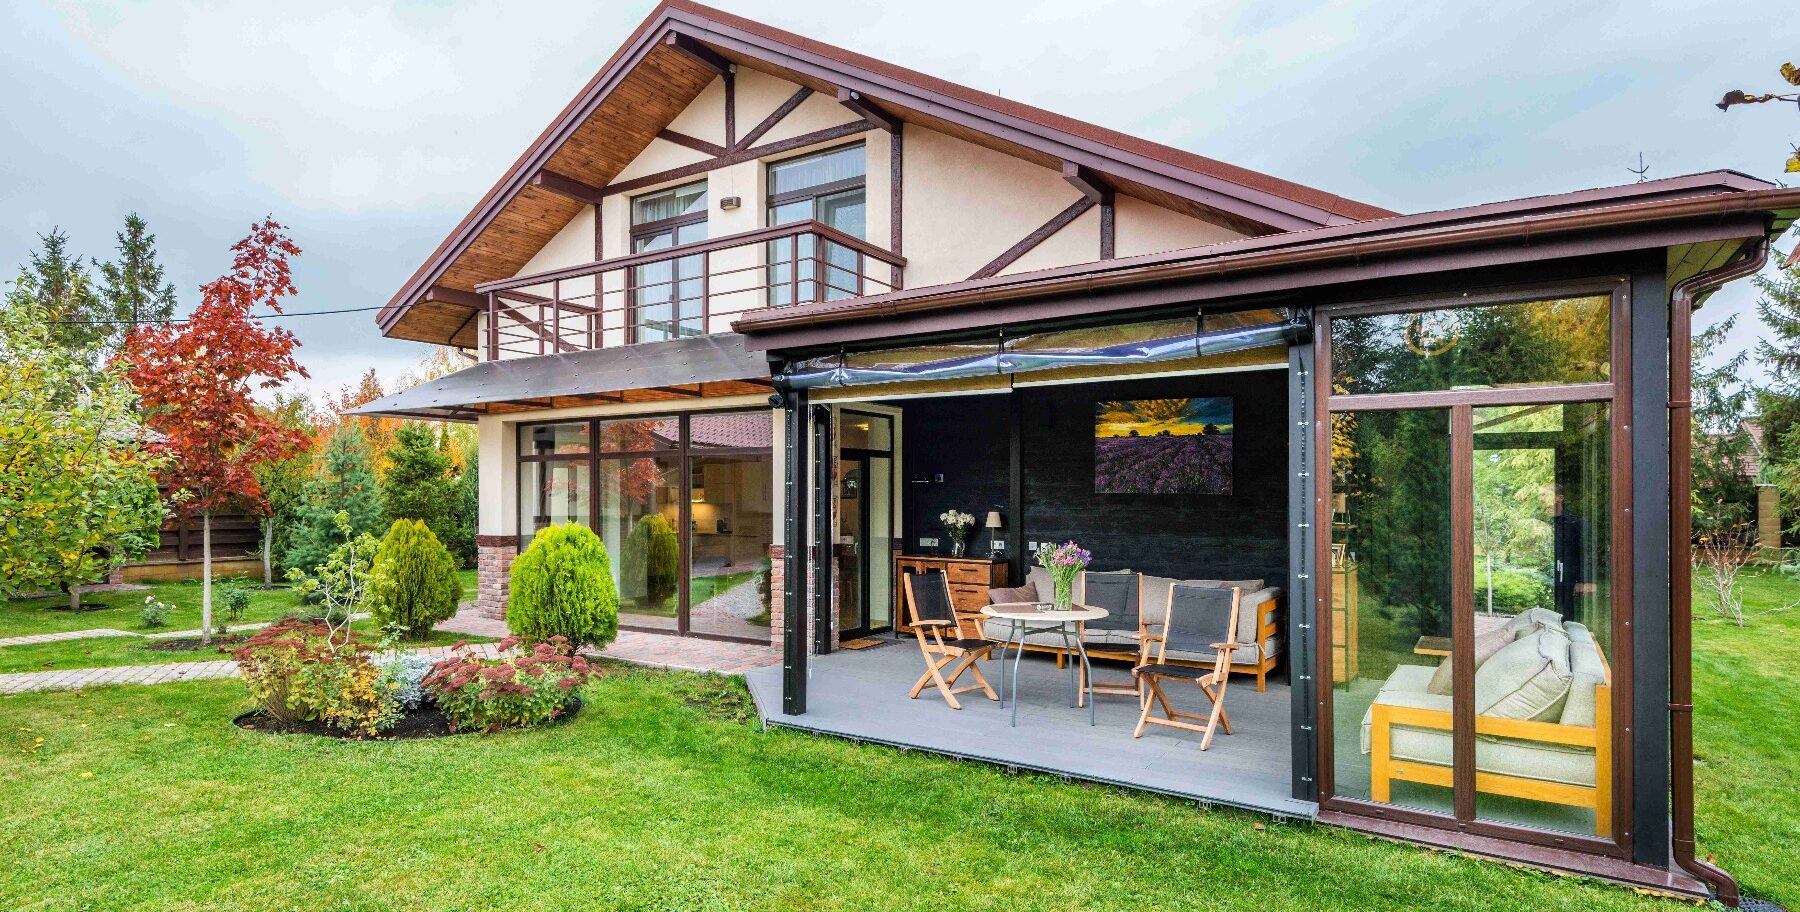
Outdoor DIY Projects
Are you ready to embark on a journey of Outdoor DIY Projects that transform your outdoor space into a functional oasis?
Welcome to a guide showcasing innovative ideas for functional upgrades, enabling your backyard to evolve into a haven of creativity and practicality. From crafting an outdoor kitchen setup to installing serene water features, this comprehensive collection empowers you to revamp and redefine your outdoor living.
Discover transformative projects designed to elevate your outdoor area’s functionality while infusing it with your unique touch.
DIY Outdoor Kitchen Setup
Elevate your outdoor living space with a practical yet stylish DIY outdoor kitchen. Imagine effortlessly preparing meals while soaking in the fresh air and natural surroundings.
Here’s a step-by-step guide to kick-start your outdoor culinary haven:
- Plan Your Layout: Strategize the arrangement of your outdoor kitchen, optimizing space for grilling, countertops, and storage.
- Choose Weather-Resistant Materials: Prioritize materials like stainless steel or treated wood to withstand outdoor elements, ensuring long-term durability.
- Select Outdoor-Rated Appliances: Invest in appliances built for outdoor use, such as grills or refrigerators, designed to endure varying weather conditions.
- Build a Strong Foundation: Establish a stable base for countertops and appliances, ensuring safety and longevity.
- Design Functional Countertops: Create ample workspace for meal prep and serving, emphasizing durability and easy maintenance.
- Incorporate Storage Solutions: Integrate cabinets or outdoor storage units to keep utensils and cookware organized and shielded from the elements.
- Add Personal Flourishes: Enhance aesthetics with decorative elements or cozy seating, making the space inviting and uniquely yours.
Crafting your DIY outdoor kitchen amplifies both convenience and the joy of outdoor living, seamlessly blending functionality with style.
Installing a Vertical Garden Wall
Turn your outdoor area into a green haven with an enticing vertical garden wall. Picture lush foliage cascading down a wall, transforming it into a living, breathing piece of art.

Here’s how you can create this botanical masterpiece:
- Select the Perfect Location: Identify a wall or structure that receives adequate sunlight and has sufficient space for plant growth.
- Choose Suitable Plants: Opt for a variety of plants suitable for vertical growth, considering factors like light requirements and water needs.
- Install Support Structure: Create a sturdy support system using trellises, containers, or specialized vertical gardening kits.
- Prepare the Wall: Ensure the wall is clean and ready for installation, considering proper drainage and protection for the surface.
- Plant and Arrange: Strategically place your selected plants, ensuring enough space for growth and proper irrigation.
- Regular Maintenance: Commit to regular watering, pruning, and upkeep to ensure the health and vibrancy of your vertical garden.
- Enjoy the Green Wall: Sit back and relish the beauty of your vertical garden wall, a captivating addition to your outdoor space.
Embrace the serenity and visual allure of nature by incorporating a vertical garden wall into your Outdoor DIY Projects.
Building a Compost Bin or Greenhouse
Embrace sustainability and gardening prowess by constructing your compost bin or greenhouse, nurturing both your garden and the environment.
Here’s a step-by-step guide to creating these eco-friendly additions:
Compost Bin Construction:
-
-
- Select the Location: Choose a suitable spot for your compost bin, preferably a shaded area with good drainage.
- Choose the Design: Decide between a ready-made bin or a DIY structure using materials like wood pallets or plastic barrels.
- Assemble and Layer: Construct the bin, layering brown (carbon-rich) and green (nitrogen-rich) materials to promote decomposition.
- Regular Turning: Turn the compost regularly to aerate and accelerate the decomposition process.
- Harvest Compost: Once ready, harvest the nutrient-rich compost to enhance soil quality in your garden.
-
Greenhouse Creation:

-
- Select Size and Design: Determine the size and style of your greenhouse, considering available space and desired functionality.
- Gather Materials: Collect materials like PVC pipes or wood frames, greenhouse plastic, and other necessary components.
- Build the Frame: Construct the frame according to your design, ensuring sturdiness and proper ventilation.
- Install Covering: Secure the greenhouse plastic or glass panels, providing insulation and protection for your plants.
- Set Up Inside: Add shelves, benches, or potting areas for organizing and nurturing your plants within the greenhouse.
Engage in sustainable gardening practices by crafting a compost bin or greenhouse as part of your Outdoor DIY Projects, fostering a greener lifestyle and flourishing garden.
Crafting Outdoor Storage
Efficient outdoor storage is pivotal for an organized and functional outdoor space dedicated to your DIY Projects.

Here’s a guide to creating outdoor storage solutions that keep your tools, equipment, and outdoor essentials neatly organized:
- Evaluate Storage Needs: Assess the items you plan to store outdoors, from gardening tools to recreational gear, to determine your storage requirements for outdoor DIY Projects.
- Choose Storage Types: Consider various storage options such as sheds, cabinets, or open shelving systems based on your available space and needs for DIY Projects.
- Select Durable Materials: Opt for weather-resistant materials like treated wood, resin, or metal to ensure longevity and protection against the elements in your outdoor DIY Projects.
- Design the Layout: Plan the layout and placement of your storage unit, ensuring easy access while maximizing space utilization for DIY Projects.
- Construct or Assemble: Build the storage unit following a pre-designed plan or assemble a ready-made unit, ensuring structural stability and security for DIY Projects.
- Organize and Maintain: Organize items within the storage unit systematically, utilizing shelves, hooks, or compartments for efficient storage during your DIY Projects.
Regularly maintain and clean the storage area to preserve the condition of your belongings in DIY Projects.
Crafting an outdoor storage solution adds functionality and organization to your outdoor space, ensuring your tools and equipment remain easily accessible yet neatly tucked away for your outdoor DIY Projects.
Creating a Fountain
Enhance the ambiance of your outdoor sanctuary by crafting a captivating fountain. The soothing sound of flowing water can transform your space into a serene retreat.

Here’s a guide to creating your fountain:
- Select a Location: Choose a spot for your fountain, considering visibility, access to power, and the overall aesthetic of your outdoor area.
- Choose Fountain Type: Decide on the type of fountain—options include wall-mounted, freestanding, or pond-style fountains.
- Gather Materials: Collect materials such as a water pump, basin, tubing, and decorative elements like stones or sculptures for your fountain.
- Design and Construct: Design the fountain layout, considering the flow of water and aesthetics. Assemble the fountain components, ensuring secure connections and proper sealing to prevent leaks.
- Add Water and Test: Fill the fountain with water and test the pump to ensure it circulates water smoothly.
- Fine-tune and Decorate: Adjust the water flow and make any necessary adjustments for optimal functionality. Decorate the fountain with plants, lighting, or additional embellishments to complement your outdoor space.
Crafting your fountain adds an element of tranquility and elegance to your Outdoor DIY Projects, creating a focal point that engages both visually and audibly.
Customized Pathways or Walkways
Personalize your outdoor space with distinctive pathways or walkways that add character and functionality.

Here’s a step-by-step guide:
- Plan the Pathway: Outline the pathway’s route, considering the flow through your outdoor area and its practical use for your DIY Projects.
- Select Pathway Materials: Choose suitable materials such as gravel, stepping stones, pavers, or bricks based on your desired aesthetic and durability for your DIY Projects.
- Prepare the Ground: Clear the designated area, leveling the ground and ensuring proper drainage.
- Lay the Foundation: Lay down a base material like sand or gravel to provide stability and support for your chosen pathway material.
- Place the Pathway Material: Arrange the selected pathway material (stones, pavers, etc.) according to your planned design, leaving enough space for secure placement.
- Secure and Finish: Secure the pathway material by embedding it properly into the foundation.
- Add Finishing Touches: Fill gaps between materials with sand or gravel for stability and consider adding decorative elements along the pathway to complement your outdoor space.
Designing customized pathways or walkways amplifies the visual appeal of your outdoor space and provides practical navigation for your outdoor DIY Projects.
Overview
Transforming your outdoor space through these diverse Outdoor DIY Projects opens doors to a realm of creativity and functionality. Each project adds its unique charm, weaving together a tapestry of personalized elegance and practicality. Step outside and immerse yourself in a world where imagination meets craftsmanship, turning your outdoor haven into a sanctuary you’ll relish for years to come.
Ready to embark on your outdoor DIY journey?
Start crafting your dream outdoor oasis today!


