
7 Quick Weekend DIY Projects to Transform Your Home for $25
Elevate your home with Weekend DIY Projects! From a vibrant front door to efficient entryways, discover practical yet stylish ideas for your living space.
Weekend DIY Projects to Transform Your Home
Have you ever wished to revamp your living space but felt overwhelmed by the thought of lengthy projects?
Fear not – the solution lies in Weekend DIY Projects.
Say goodbye to outdated décor and welcome the satisfaction of a revamped home.
Discover the joy of transforming your home with quick and achievable tasks, each designed to breathe new life into your surroundings without consuming your precious weekends. Whether it’s replacing window treatments or organizing the entry, this article unveils a series of projects that are both easy and rewarding.
Join us on this DIY journey, where simplicity meets style in a weekend adventure of home transformation.
DIY Window Makeover
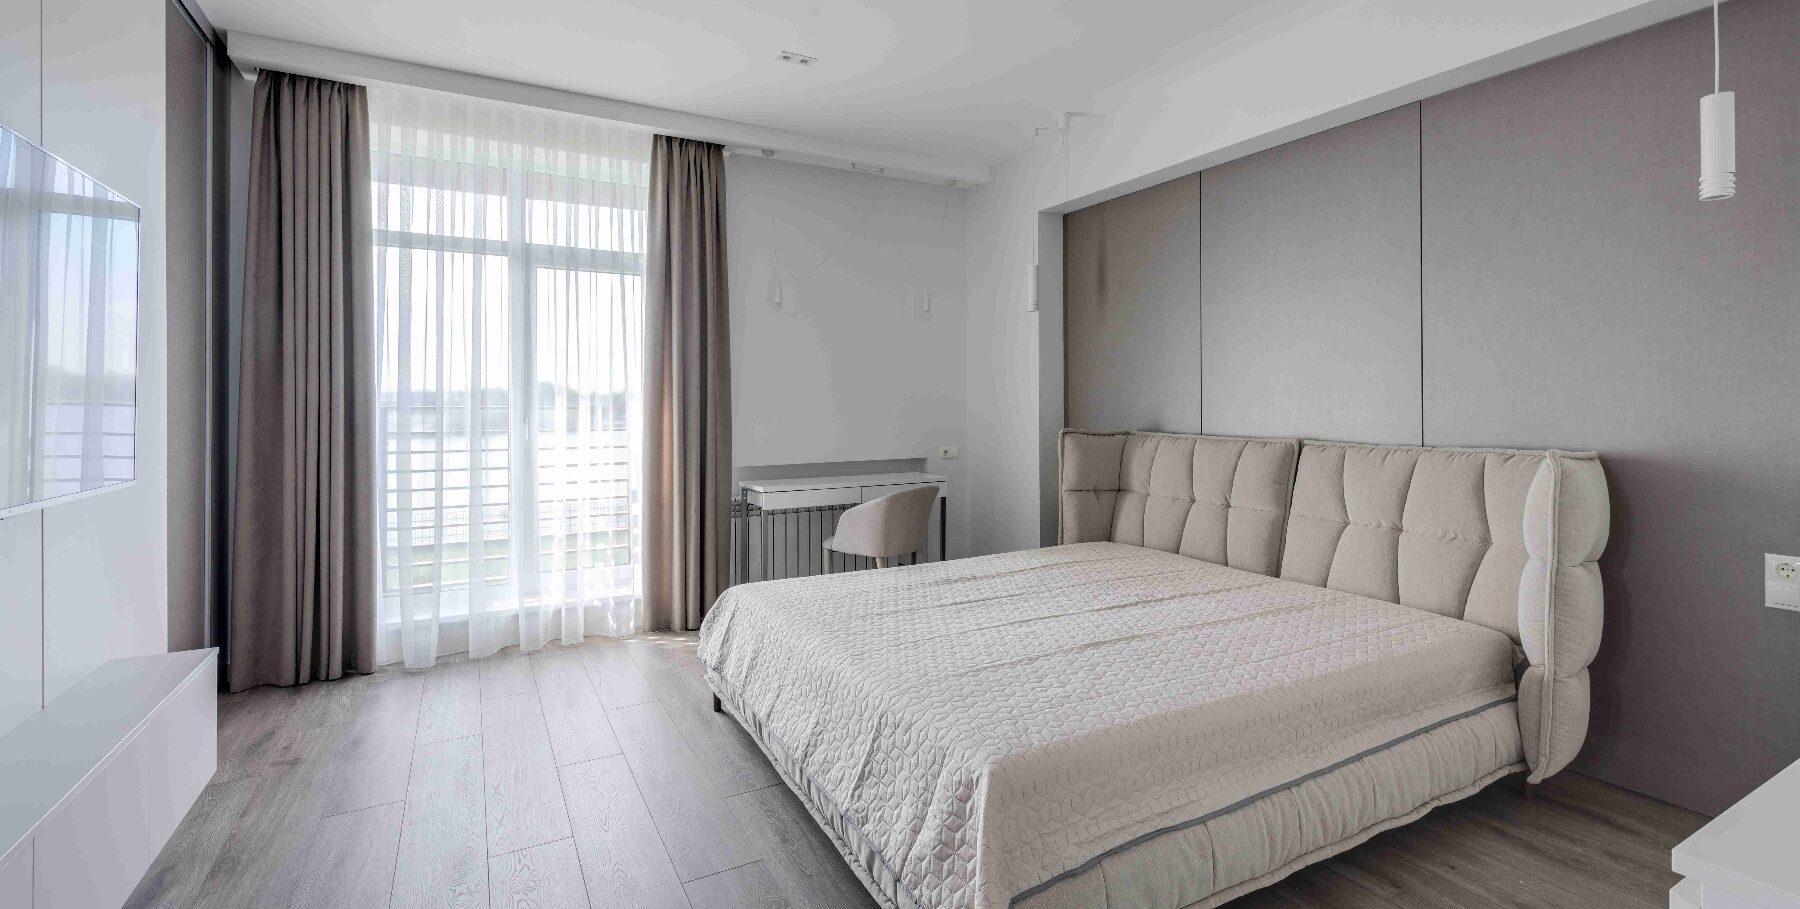
Did you ever feel the need to revamp a room, but were confused by outdated window treatments? Fear not; you’re not alone. Many homeowners grapple with this common issue, and it’s the first challenge we’re tackling in our Weekend DIY Projects series.
Why Window Treatments Matter:
Outdated or mismatched window treatments can significantly impact the overall aesthetic of a room. They might dull the natural light, clash with your decor, or simply look worn out. The good news is that refreshing your window treatments can make a substantial difference with minimal effort.
Your Weekend Mission:
This weekend, let’s embark on a mission to transform your space by replacing those outdated window treatments with something fresh and modern.
The best part? It’s a relatively quick project that delivers instant gratification.
Materials You’ll Need:
- New curtains or blinds
- Curtain rod or hardware
- Measuring tape
- Screwdriver
- Patience and creativity
Step-by-Step Guide:
- Assessment: Begin by assessing the current state of your window treatments. Identify what’s not working and envision the style you’d like to achieve.
- Measurements: Measure your windows to ensure you purchase the right-sized curtains or blinds.
- Shopping: Head to your local home improvement store or browse online for curtains or blinds that align with your vision.
- Installation: Remove the old window treatments and install the new ones following the manufacturer’s instructions.
Pro Tips:
- Opt for light-colored curtains to make a room feel more spacious.
- Choose blackout curtains for bedrooms to improve sleep quality.
- Experiment with patterned or textured fabrics to add visual interest.
By the end of the weekend, you’ll not only have transformed the look of your room but also gained confidence in tackling more Weekend DIY Projects.
Efficient Entry Organization
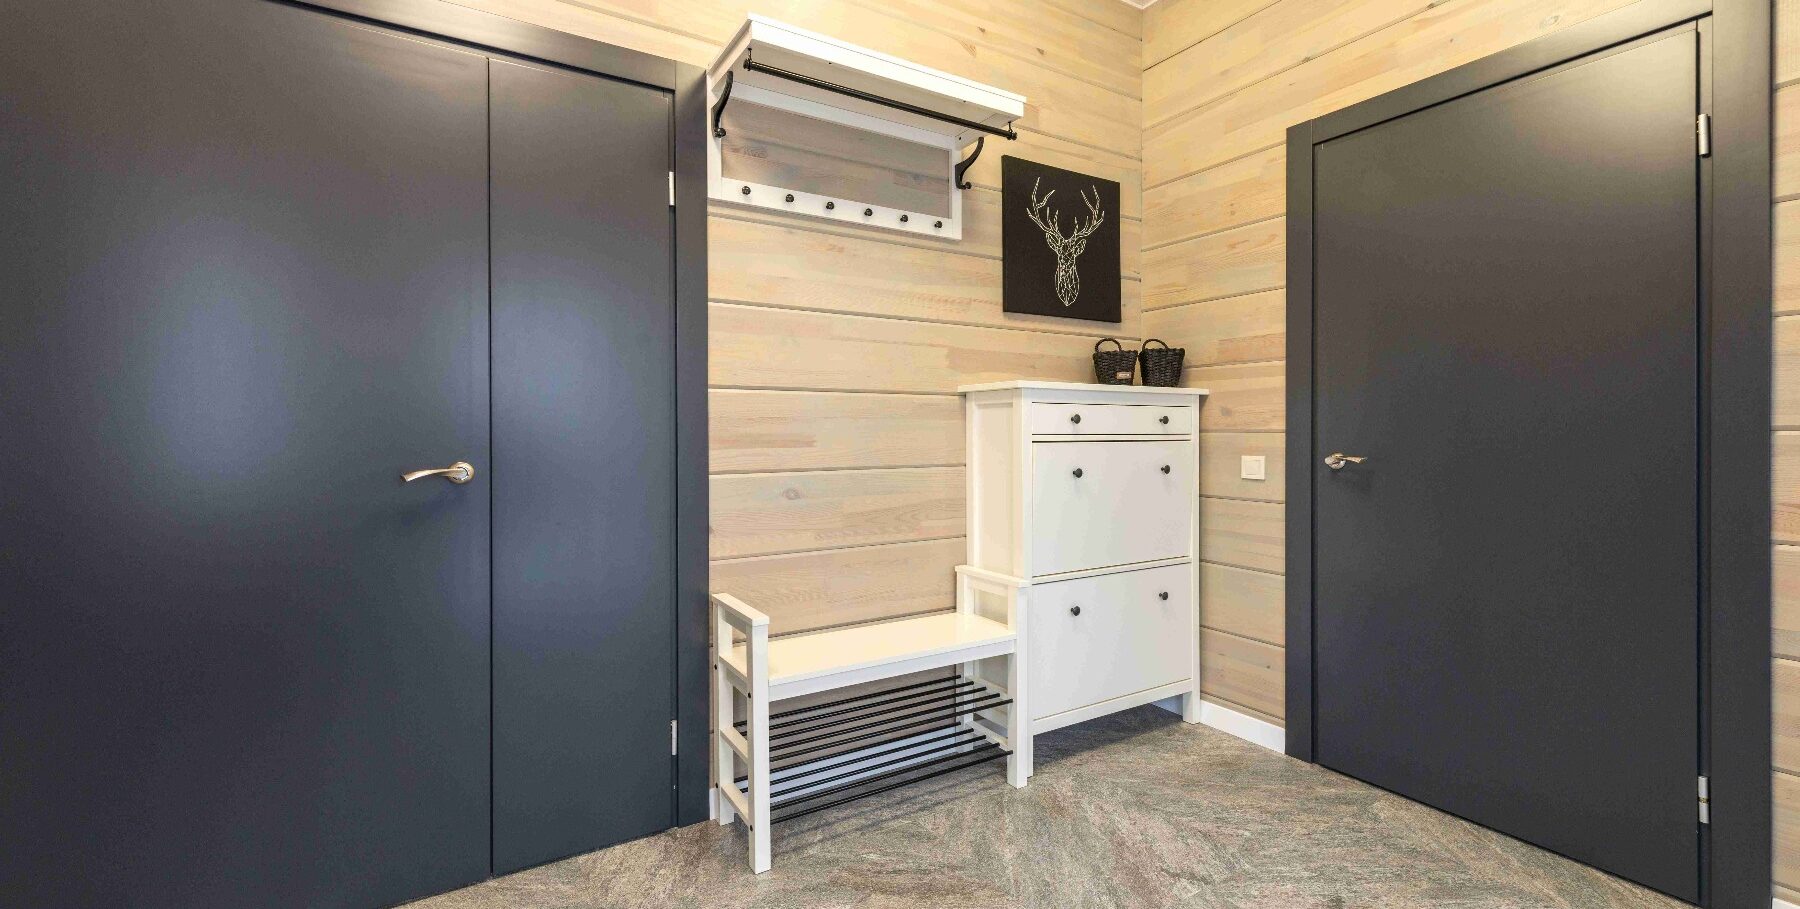
Have you ever spent mornings searching for keys or tripping over shoes in your entryway? If the chaos of this high-traffic area leaves you frustrated, don’t worry – our next Weekend DIY Project focuses on creating an efficient entry space that welcomes you with organization and style.
Entryway Woes:
The entryway is often the first impression guests have of your home, and disorganization can mar that impression. From shoes scattered around to keys playing hide-and-seek, these common issues can be swiftly addressed with a touch of creativity and some Weekend DIY magic.
Your Weekend Mission:
This weekend, let’s revolutionize your entryway with Weekend DIY Projects, transforming it into a functional and inviting space. From clever storage solutions to aesthetically pleasing hooks, we’ve got the ideas to make your entryway work for you.
Materials You’ll Need:
- Hooks or pegs
- A shoe rack or storage bench
- Decorative baskets or bins
- Small shelves or floating shelves
- Command strips or screws
Step-by-Step Guide:
- Declutter: Begin by decluttering your entryway. Remove items that don’t belong and assess what essentials need a designated spot.
- Create a Shoe Zone: Invest in a shoe rack or storage bench to keep shoes tidy and easily accessible. This simple addition can significantly reduce entryway clutter.
- Hang Hooks for Accessories: Install hooks or pegs to keep bags, hats, and scarves organized. This step not only adds functionality but also introduces a decorative element.
- Introduce Storage Solutions: Incorporate decorative baskets or bins for items like mail, keys, or gloves. This creates a designated space for daily essentials.
- Utilize Wall Space: If space allows, add a small shelf or floating shelves for decorative items or additional storage. Wall-mounted storage can be a game-changer in smaller entryways.
Pro Tips:
- Consider a multi-tiered shoe rack for added storage without taking up much floor space.
- Personalize your entryway with a small table or decorative mirror.
By the end of the weekend, you’ll not only have a more organized entryway but also a sense of accomplishment that comes with conquering Weekend DIY Projects.
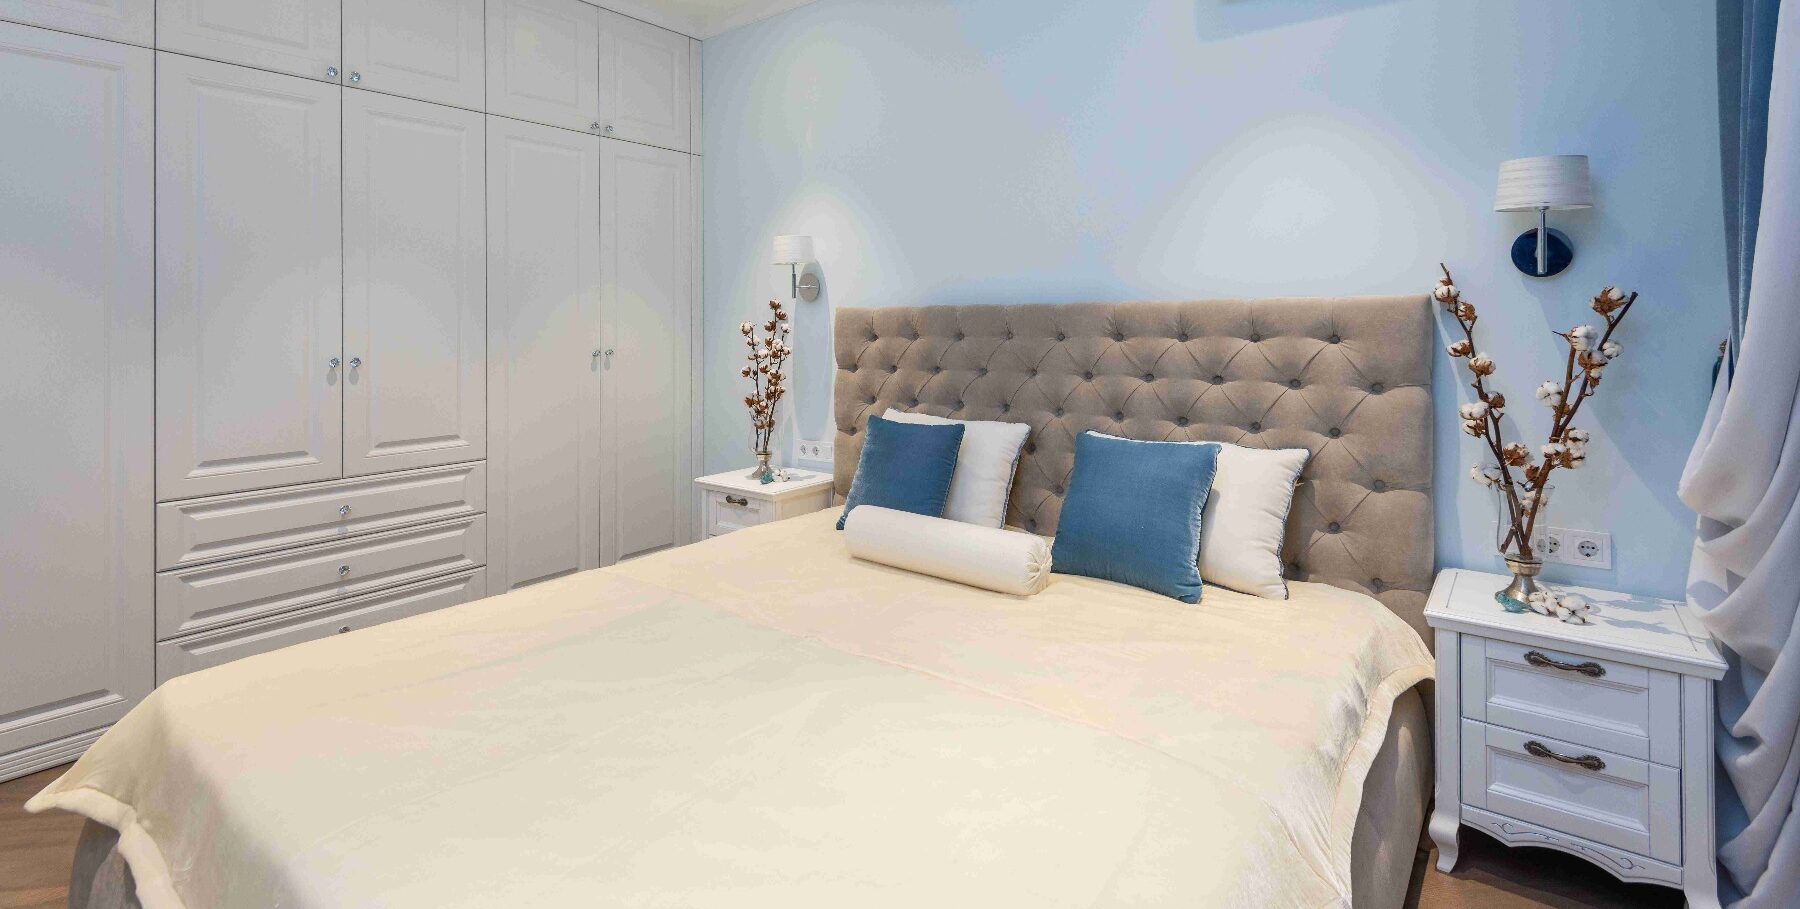
Maximize Storage with Creative Solutions
Are you tired of feeling like you’re constantly running out of storage space in your home? Our next Weekend DIY Project has you covered! Let’s explore innovative ways to maximize storage in various areas, ensuring everything has its place and your living space remains clutter-free.
The Storage Struggle:
Whether it’s stepping over items in the bedroom or struggling to find space for essentials in the kitchen, inadequate storage can create unnecessary stress. This Weekend DIY Project aims to transform your storage solutions from basic to brilliant.
Your Weekend Mission:
This weekend, dive into the realm of Weekend DIY Projects by implementing clever storage solutions. From boosting bedside storage to adding open shelving, we’ve got the ideas to help you make the most of every nook and cranny.
Materials You’ll Need:
- Storage baskets or bins
- Floating shelves
- Bedside organizers
- Hooks or pegs
- Creative mindset
Step-by-Step Guide:
Bedside Storage Boost:
-
-
- Add a bedside caddy to keep books, tablets, or remote controls within arm’s reach.
- Install floating shelves above or beside the bed for additional storage without taking up floor space.
-
Open Shelving for Style and Functionality:
-
-
- Consider removing cabinet doors in the kitchen or bathroom to create open shelving.
- Use baskets or decorative bins on open shelves for a visually appealing storage solution.
-
Designate a Drop Spot:
-
- Create a designated “drop spot” near the entryway for keys, mail, and other daily essentials.
- Install hooks or pegs for bags, coats, or hats to keep the area clutter-free.
Pro Tips:
- Use under-bed storage bins to maximize space in the bedroom.
- Install wall-mounted hooks in the bathroom for towels or robes.
By the end of the weekend, you’ll not only have conquered storage challenges but also enhanced the functionality and aesthetics of your living space.
Painting the Front Door
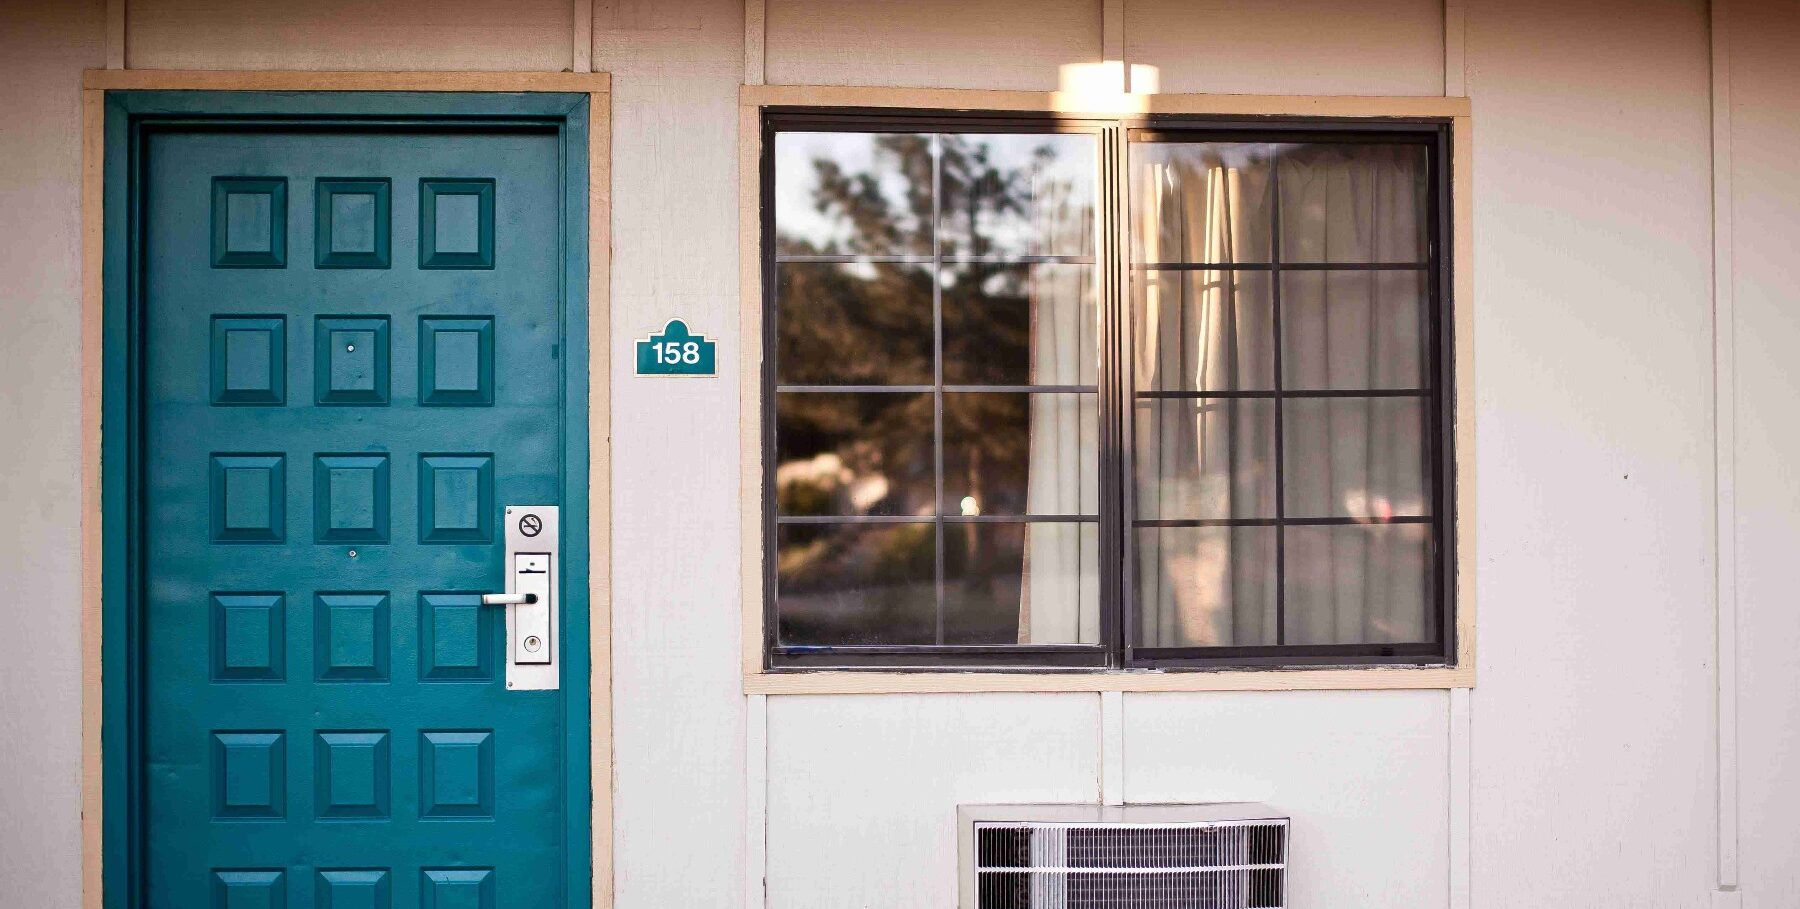
Does your home lack the wow factor from the curb? Get ready to elevate your home’s exterior by adding a fresh coat of paint to the front door.
Your front door is the gateway to your home, and a well-painted door can instantly boost curb appeal. It’s a simple yet effective way to make a statement and set the tone for the entire house.
Your Weekend Mission:
This weekend, let’s dive into the transformative world of Weekend DIY Projects by painting your front door. With a spectrum of colors and finishes to choose from, you can express your style and breathe new life into your home’s exterior.
Materials You’ll Need:
- Exterior paint in your chosen color
- Paintbrush or paint sprayer
- Sandpaper
- Drop cloths or newspapers
- Painter’s tape
Step-by-Step Guide:
Color Selection:
-
-
- Choose a paint color that complements your home’s exterior and reflects your style.
- Consider trendy options like bold reds, calming blues, or classic neutrals.
-
Preparation:
-
-
- Remove the door from its hinges or cover surrounding areas with drop cloths to avoid accidental paint splatters.
- Use sandpaper to smooth any imperfections on the door’s surface.
-
Painting Process:
-
- Apply painter’s tape to protect glass panels or hardware.
- Begin painting, starting with the recessed or detailed areas before moving to larger surfaces.
- Allow the first coat to dry completely before applying a second coat if necessary.
Pro Tips:
- Choose a high-quality exterior paint for durability.
- Consider adding a pop of color that contrasts with your home’s exterior for a vibrant look.
By the end of the weekend, not only will you have a freshly painted front door, but you’ll also witness the immediate impact on your home’s curb appeal.
Open Shelving for Style and Functionality
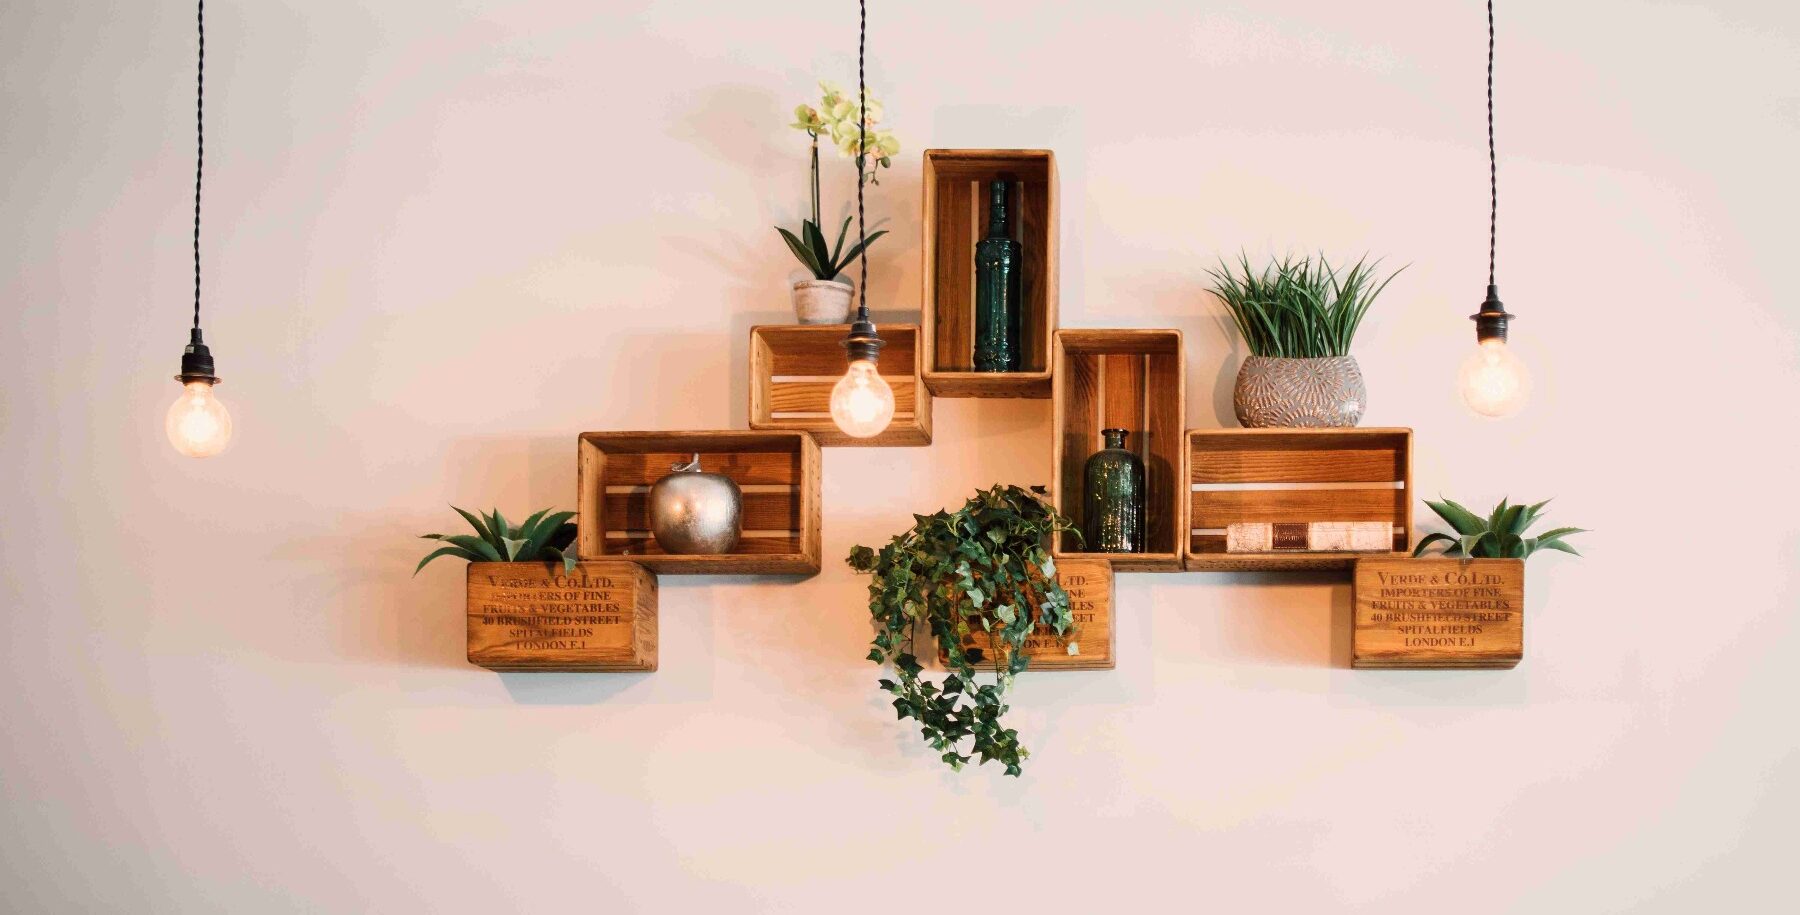
Are you looking to infuse your home with a touch of modern style while increasing functionality? Our next Weekend DIY Project revolves around the concept of open shelving – a versatile and visually appealing solution that can transform the look and feel of various rooms in your home.
The Charm of Open Shelving:
Open shelving not only creates a sense of openness but also allows you to showcase your favorite decor items. From the kitchen to the living room, incorporating open shelves can elevate both style and functionality.
Your Weekend Mission:
This weekend, let’s dive into the world of Weekend DIY Projects by adding open shelving to a room of your choice. Whether it’s displaying cookbooks in the kitchen or showcasing decor in the living room, open shelving is a customizable and impactful addition.
Materials You’ll Need:
- Floating shelves or brackets
- Screws and anchors
- Level
- Stud finder
- Power drill
Step-by-Step Guide:
Selecting the Space:
-
-
- Choose a wall in the desired room where open shelving would enhance both aesthetics and functionality.
- Consider areas like the kitchen for displaying dishes, the living room for showcasing decor, or even the bathroom for storing toiletries.
-
Choosing the Shelves:
-
-
- Select floating shelves or brackets that complement the overall style of the room.
- Ensure the length and depth of the shelves suit the items you plan to display.
-
Installation Process:
-
- Use a stud finder to locate wall studs for secure installation.
- Install brackets or floating shelves using screws and anchors.
- Use a level to ensure the shelves are straight and evenly spaced.
Pro Tips:
- Keep the spacing between shelves consistent for a polished look.
- Mix functional items with decorative pieces to add visual interest.
By the end of the weekend, you’ll not only have a stylish addition to your space but also a newfound appreciation for the versatility of open shelving.
Bathroom Refresh
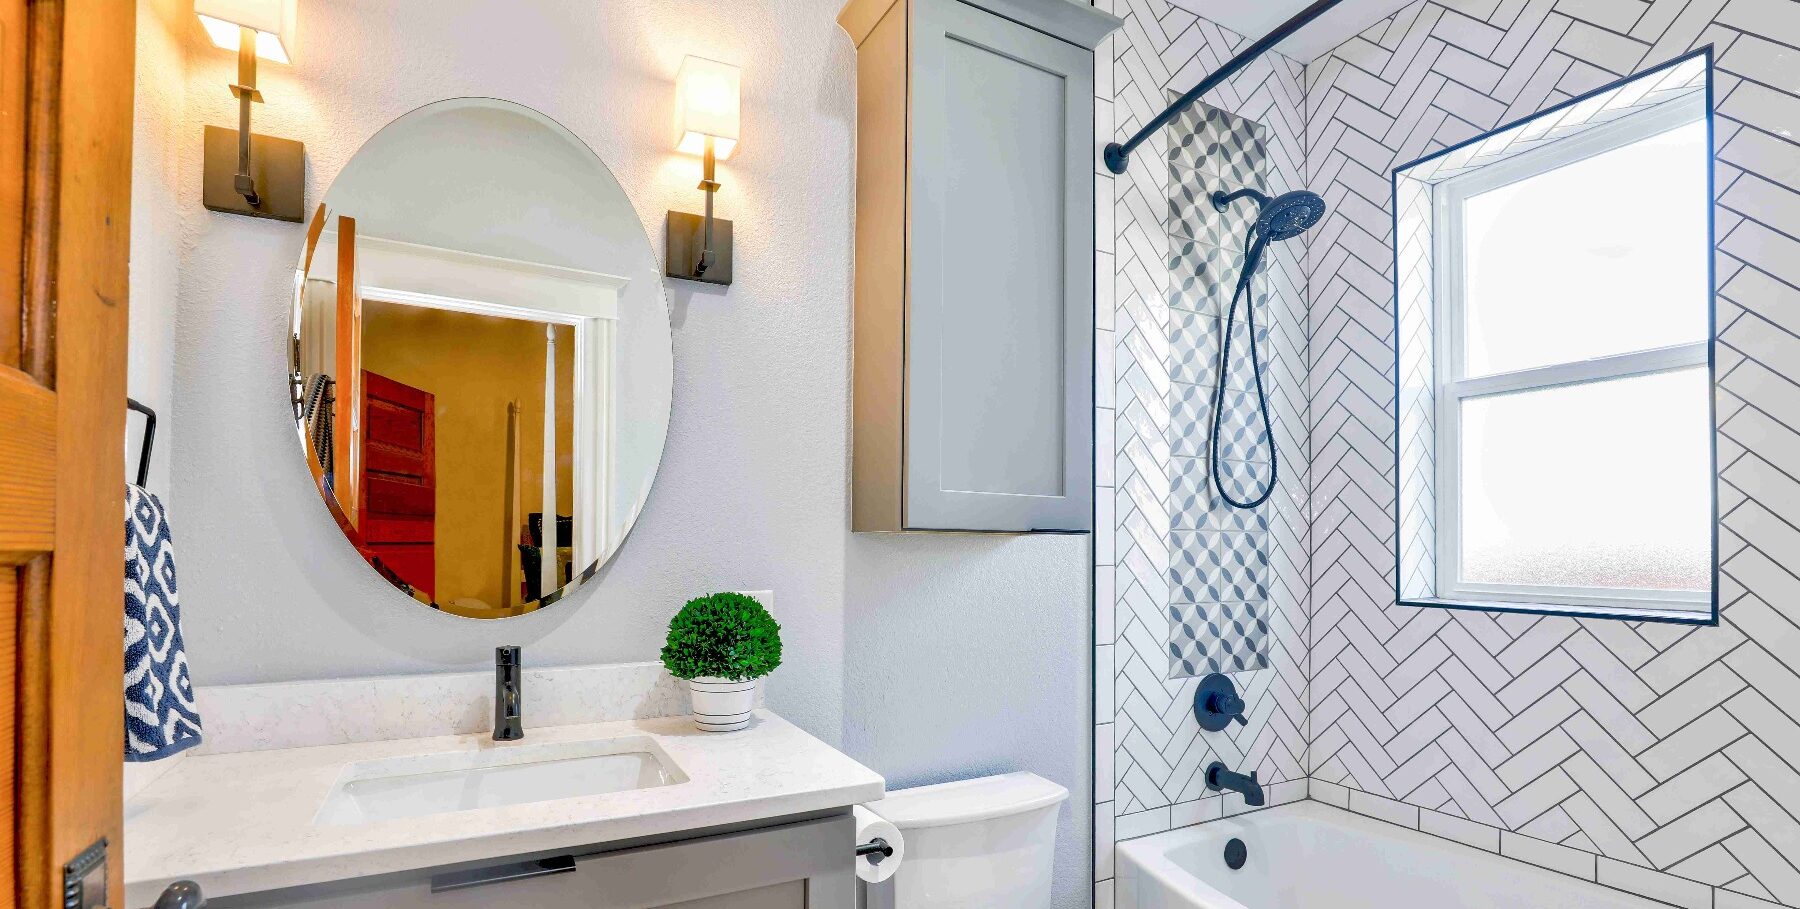
Does your bathroom lack the fresh and clean look you desire? Our next Weekend DIY Project focuses on recaulking – a simple yet effective way to revitalize the appearance of your bathroom. Say goodbye to dingy corners and moldy edges as we guide you through this transformative process.
The Importance of Recaulking:
Over time, the caulk in your bathroom can become discolored, cracked, or even develop mold. Recaulking not only improves the aesthetics but also ensures a watertight seal, preventing water damage and mold growth.
Your Weekend Mission:
This weekend, let’s embark on a bathroom refresh by recaulking the key areas in need of attention. From the bathtub to the sink, this simple project can make a significant difference in the overall cleanliness and appeal of your bathroom.
Materials You’ll Need:
- Caulk gun
- Silicone caulk
- Caulk remover or scraper
- Painter’s tape
- Cleaning supplies (soap, water, and a sponge)
Step-by-Step Guide:
Identify Areas for Recaulking:
-
-
- Inspect the areas around your bathtub, sink, and shower for cracked or discolored caulk.
- Use a caulk remover or scraper to carefully remove the old caulk.
-
Clean and Prep the Surface:
-
-
- Clean the surfaces thoroughly with soap, water, and a sponge.
- Ensure the surfaces are dry before applying the new caulk.
-
Apply Painter’s Tape:
-
-
- Use painter’s tape to mask off the areas around the joints where you’ll be applying caulk.
- This ensures a neat and precise finish.
-
Caulk Application:
-
- Load the caulk gun with silicone caulk.
- Apply a steady and even bead of caulk along the joints.
- Use a wet finger or caulk smoothing tool to create a smooth finish.
Pro Tips:
- Choose a silicone caulk that is mold-resistant for longer-lasting results.
- Allow the caulk to dry completely before exposing it to water.
By the end of the weekend, you’ll not only have a bathroom with a fresh and clean appearance but also a renewed sense of satisfaction in your DIY abilities.
Update House Numbers for Instant Impact
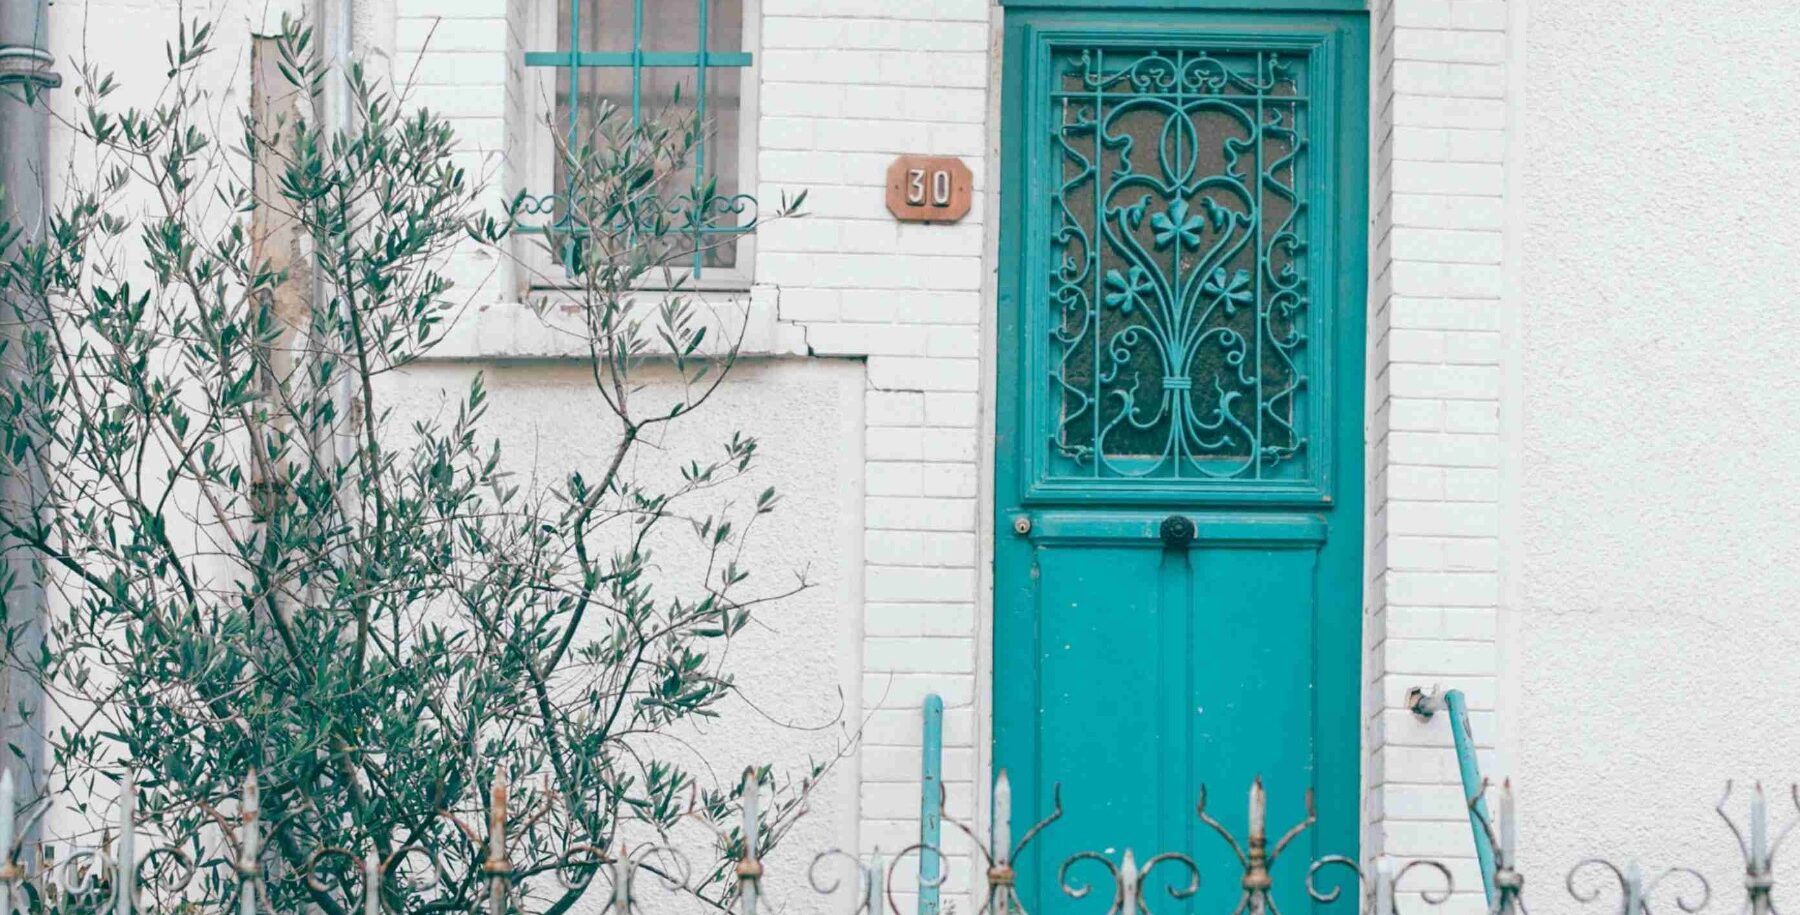
Is your home’s exterior in need of a quick and impactful update? Our next Weekend DIY Project focuses on something small but significant – updating your house numbers. Discover how this simple change can enhance your home’s curb appeal and make it stand out in your neighborhood.
The Significance of House Numbers:
House numbers are not just practical; they’re also a visual element that contributes to your home’s overall aesthetic. Updated and well-designed house numbers can instantly elevate the look of your exterior.
Your Weekend Mission:
This weekend, let’s embark on a project that takes only a short amount of time but delivers a powerful impact. Updating your house numbers is an easy and budget-friendly way to refresh the exterior of your home.
Materials You’ll Need:
- New house numbers (various styles available)
- Power drill
- Screws
- Painter’s tape (optional for alignment)
Step-by-Step Guide:
Select Your House Numbers:
-
-
- Choose new house numbers that complement the style of your home.
- Consider options like modern metal numbers, classic brass figures, or even customized designs.
-
Plan the Placement:
-
-
- Decide where you want to place the new house numbers. Common locations include near the front door, on the mailbox, or prominently on the front facade.
-
Prepare for Installation:
-
-
- If replacing existing numbers, remove the old ones carefully.
- Use painter’s tape to mark the desired placement for precision.
-
Secure the New Numbers:
-
- Using a power drill, attach the new house numbers securely to the chosen location.
- Ensure they are level and spaced appropriately for a polished finish.
Pro Tips:
- Opt for numbers that contrast with your home’s exterior for better visibility.
- Choose durable materials that can withstand various weather conditions.
By the end of the weekend, you’ll not only have updated house numbers but also give your home’s exterior a fresh and polished appearance.
Overview
Embarking on the Weekend DIY Projects journey has brought a refreshing makeover to your home, from a vibrant front door to updated house numbers.
These seemingly small changes yield big impacts, transforming not only aesthetics but daily functionality. As we conclude this DIY adventure, your living space now resonates with style and practicality. But it’s not a finale; it’s a call to continue this creative journey.
What’s your next Weekend DIY Project?
Ready to turn your home into a masterpiece of style and functionality? Dive into your next Weekend DIY Project and watch your living space transform!
Happy DIYing!


