
Oil Stain Remover | 5 Best Tips for Saying Good Bye to Stubborn Stains
Discover the best oil stain remover solutions and expert tips to banish unsightly stains for good. Read our comprehensive guide now!
As an oil stain remover expert, I understand the frustration that comes with stubborn, unsightly oil stains on driveways, garage floors, and clothing. These annoying stains seem to appear out of nowhere and can be a real eyesore. But fear not! In this comprehensive guide, we cover the world of oil stain removal, providing you with expert tips and top-notch solutions to help you bid farewell to those relentless stains once and for all.
Oil Stain Remover: Your Trusted Ally Against Stains
When it comes to battling those stubborn oil stains, rest assured that an oil stain remover is your unwavering companion in the fight against unsightly marks. These pesky stains might appear invincible, but with the right knowledge and products, you can triumph.
Oil stain removers are specially formulated to tackle the toughest oil-based blemishes on various surfaces. They work diligently to break down the oils, making it easier for you to bid farewell to those bothersome stains. From your driveway to your favorite shirt, these trusty allies have got your back, ensuring a clean and stain-free environment. So, when oil stains strike, don’t fret—reach for your trusted oil stain remover and conquer those marks with confidence.

What Causes Oil Stains?
Before we jump into the solutions, let’s take a moment to understand what causes oil stains. This knowledge will help us tackle them more effectively.
Oil Leaks
Oil leaks, though seemingly small, can lead to significant problems. These tiny trickles of oil from engines or machines can create a big mess. They often start unnoticed but leave a noticeable mark. Ignoring them is unwise, as they can damage surfaces and harm the environment.
As an expert, I advise regular checks to catch these culprits early. Fixing them promptly not only prevents stains but also preserves your equipment. Remember, even a tiny oil leak can grow into a major issue if left unchecked. So, stay vigilant, address leaks promptly, and keep your surroundings clean and safe from these sneaky oil invaders.
Cooking Mishaps
In the world of cooking, mishaps are like unexpected plot twists in a culinary adventure. Even seasoned chefs encounter them—spills, overcooked dishes, and forgotten ingredients. But, here’s the secret: every mishap is an opportunity for culinary growth!
As an expert in the kitchen, I’ve witnessed and conquered my fair share of mishaps.
Remaining composed and adjusting is the essential approach. A spilled sauce can become a flavorful surprise, and an overcooked dish can be transformed into a new creation. Embrace mishaps, learn from them, and let them enrich your culinary journey. After all, the best recipes often arise from unexpected twists.
Industrial Spills

- Industrial spills can pose serious risks, both to the environment and human safety. These unfortunate incidents can involve various substances, including oils, chemicals, and hazardous materials.
- As an expert in industrial safety, I emphasize the importance of rules and preventive measures. Comprehensive training, spill containment strategies, and proper handling procedures are paramount. Timely response and cleanup are crucial to minimize the impact of such spills.
- In short, industrial spills demand immediate attention and expertise. By staying vigilant and well-prepared, industries can mitigate risks, protect the environment, and ensure the safety of their workers
Now that we know the enemies, let’s dive into the arsenal of oil stain remover techniques and products you can use to combat these stains.
Effective Oil Stain Removal Solutions
When it comes to removing oil stains, it’s crucial to act swiftly. The longer a stain sits, the harder it is to eliminate. Here are some proven methods and products to help you conquer oil stains:
Dish Soap and Warm Water
Removing oil stains using dish soap and warm water is a simple and effective method. Here are the steps to follow:
- Blot the Stain: Start by gently dabbing the oil stain using a clean cloth or paper towel. This helps to absorb any excess oil and prevents it from spreading further.
- Prepare the Solution: Mix a few drops of dish soap with warm water in a small bowl or bucket.Make sure the water is warm, but avoid it being excessively hot.
- Apply the Solution: Dip a clean cloth or sponge into the soapy water mixture and gently apply it to the oil stain. Make sure the stain is thoroughly saturated with the solution.
- Scrub Gently: Using a soft brush, cloth, or sponge, gently scrub the stained area in a circular motion. Be patient and avoid using excessive force, as this can damage the surface.
- Let it Sit: Allow the soapy water solution to sit on the stain for about 10–15 minutes. This allows the soap to effectively dissolve the oil.
- Rinse Thoroughly: After the soaking time, rinse the stained area with clean, warm water. Ensure you remove all traces of the soap solution.
- Check and Repeat: Inspect the stain to see if it has been completely removed. If not, you may need to repeat the process, applying more soap and gently scrubbing again.
- Machine Wash (if applicable): If the oil stain is on clothing or fabric, check the care label. If it’s safe for machine washing, launder the item as usual after treating the stain. Make sure the stain is gone before drying, as heat can set the stain.
- Air Dry: For non-clothing items like surfaces or concrete, allow the area to air dry naturally. This will help you assess whether the stain has been completely removed.
- Repeat if Necessary:If the stain persists, consider repeating the process. Particularly stubborn stains often need several attempts for complete removal. Be patient and persistent, as oil stains can be challenging to remove completely.
By following these steps, you can effectively use dish soap and warm water to tackle and eliminate oil stains from various surfaces and fabrics. Remember to act promptly, as fresh stains are easier to remove than old, set-in ones.
Baking Soda and Vinegar
Removing oil stains using baking soda and vinegar is an eco-friendly and efficient method. Here are the steps to effectively eliminate oil stains with this combination:
- Blot the Stain: Begin by blotting the oil stain with a clean cloth or paper towel to absorb as much of the excess oil as possible. This prevents the oil from spreading further.
- Create a Baking Soda Paste:Prepare a thick baking soda paste by combining baking soda with a small quantity of water in a small bowl. Make sure it reaches a consistency akin to toothpaste.
- Apply the Paste: Using a spatula or your fingers, spread the baking soda paste evenly over the oil stain. Ensure that the entire stained area is covered with the paste.
- Let it Sit: Allow the baking soda paste to sit on the stain for around 30 minutes. This gives it time to absorb and break down the oil.
- Scrub Gently: After the waiting period, use a soft brush or an old toothbrush to gently scrub the stained area in a circular motion. Be careful not to scrub too vigorously, as this may damage the surface.
- Rinse with Vinegar: Pour white vinegar directly onto the stained area, saturating it thoroughly. The vinegar will interact with the baking soda, resulting in a foaming reaction. This reaction helps to further break down the oil.
- Continue Scrubbing: While the foaming reaction is occurring, continue to gently scrub the stained area with the brush. This helps to lift the oil and baking soda mixture.
- Rinse Thoroughly: Rinse the stained area with clean water to remove the baking soda and vinegar residue completely. Utilize a clean cloth or sponge to remove any lingering residue.
- Check and repeat (if necessary): Inspect the stain to see if it has been completely removed. If not, you may need to repeat the process, applying more baking soda paste and vinegar as needed.
- Machine Wash (if applicable): If the oil stain is on clothing or fabric, check the care label. If it’s safe for machine washing, launder the item as usual after treating the stain. Ensure the stain is completely gone before drying.
- Air Dry: For non-clothing items like surfaces or concrete, allow the area to air dry naturally. This will help you assess whether the stain has been completely removed.
By following these steps, you can effectively use baking soda and vinegar to remove oil stains from various surfaces and fabrics. This method is safe, environmentally friendly, and often very effective at tackling stubborn oil stains.
Commercial Oil Stain Remover
Removing oil stains using commercial oil stain removers is a straightforward process. Here are the steps to effectively eliminate oil stains with these products:
- Read the Instructions: Start by carefully reading the instructions provided on the commercial oil stain remover product. Different products may have specific guidelines or safety precautions.
- Prepare the Area: Ensure the stained area is clean and free from debris. Remove any loose dirt or materials from the surface to allow the stain remover to work effectively.
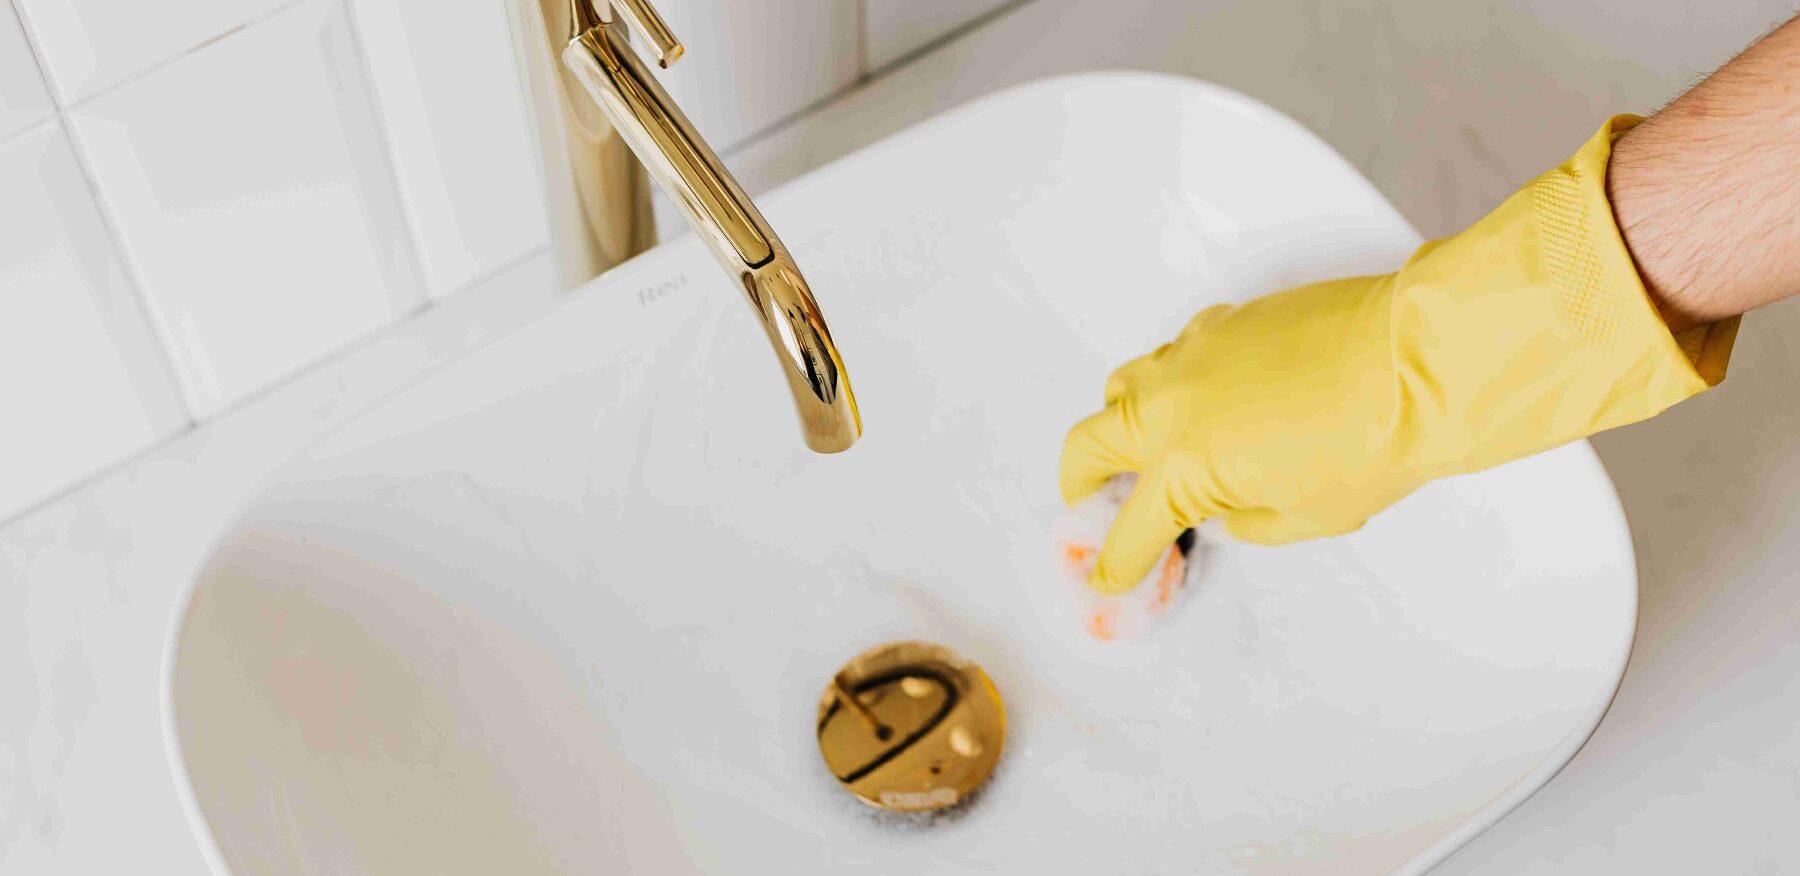
- Safety Gear: Consider wearing appropriate safety gear such as gloves and eye protection if recommended by the product instructions.
- Apply the Stain Remover: Following the instructions on the product, apply the commercial oil stain remover directly onto the oil stain. Use a brush, cloth, or sponge to spread it evenly over the affected area.
- Wait for Dwell Time: Most commercial stain removers require a certain amount of time to penetrate and break down the oil stain. Follow the recommended dwell time mentioned on the product label.
- Scrub (if necessary): Depending on the severity of the stain, you may need to gently scrub the stained area with a brush or cloth to help lift the oil.
- Rinse Thoroughly: Ensure that you completely eliminate any remnants of the stain remover. Make sure to remove all traces of the stain remover.
- Check for Residue: Inspect the stained area to ensure that the oil stain has been completely removed. If residue remains, repeat the process as necessary.
- Dispose of Materials Safely: Dispose of any used materials, such as cloths or brushes, according to local regulations or the product’s disposal instructions.
- Air Dry: Let the cleaned area air dry naturally. This will help you assess whether the stain has been completely removed.
- Additional cleaning (if necessary): In some cases, particularly stubborn stains may require multiple applications of the commercial stain remover. Follow the product instructions for further treatments.
Commercial oil stain removers are designed to be highly effective, and by following the provided instructions, you can efficiently remove oil stains from various surfaces. Always use the recommended safety precautions and handle the product as directed to ensure safe and successful stain removal.
Kitty Litter Absorption:
- For oil stains on concrete, cover the stain with kitty litter and let it sit overnight.
- Sweep away the litter and rinse the area.
Professional Cleaning Services
- For large or extremely stubborn oil stains, consider hiring professional cleaning services with specialized equipment and expertise.
Preventing Future Oil Stains
Prevention is key to avoiding the hassle of dealing with oil stains. Here are some tips to help you keep oil stains at bay:

- Regular Maintenance: Keep your vehicle well-maintained to prevent oil leaks.
- Cooking Safely: Be cautious in the kitchen to minimize oil spills. Use splatter screens and proper cooking techniques.
- Industrial Safety: If you work in an industrial setting, ensure proper training and protocols for handling and containing oil spills.
In conclusion, oil stain removal doesn’t have to be a daunting task. With the right techniques and products, you can effectively eliminate these stubborned stains from various surfaces. Remember to act quickly and follow the recommended methods for the best results.
So, what are you waiting for? Get started on your oil stain removal journey today and bid farewell to those unsightly blemishes for good!


