
7 Chic Bliss DIY Bathroom Upgrades That Redefine Your Luxury
Discover the art of DIY Bathroom Upgrades for a stylish oasis! Transform your bathroom into a haven. Dive into the world of DIY magic today!
DIY Bathroom Upgrades
Are you looking for a way to transform your bathroom into a stylish and functional haven? You’re in for a treat! In this blog post, we’re diving deep into the world of DIY Bathroom Upgrades, unveiling practical tips and creative ideas to turn your ordinary bathroom into an extraordinary oasis.
You don’t need bland spaces when you can create a space that reflects your unique taste. From budget-friendly makeovers to ingenious storage solutions, get ready to elevate your bathroom experience with our expert insights.
Let the DIY adventure begin.
Paint the Walls

Give your bathroom a fresh lease on life by wielding the power of paint. Painting the walls is a game-changer, instantly transforming the ambiance. Whether you opt for soothing neutrals, vibrant hues, or trendy patterns, a well-chosen paint job can make your bathroom feel like an entirely new space. This budget-friendly DIY bathroom upgrade lets you express your style and set the tone for a relaxing retreat.
Steps:
- Prep and Clean: Start by cleaning the walls and patching any imperfections.
- Choose the Right Paint: Opt for a high-quality, moisture-resistant paint suitable for bathroom environments.
- Select Your Palette: Decide on a color scheme or pattern that complements your style and vision.
- Protect and Tape: Use painter’s tape to protect edges and ensure clean lines during painting.
- Apply the Paint: Paint the walls with at least two coats, allowing each coat to dry thoroughly.
- Seal for Durability: Finish with a waterproof sealant to enhance paint longevity and protect against moisture.
Upgrade to Reusable Containers
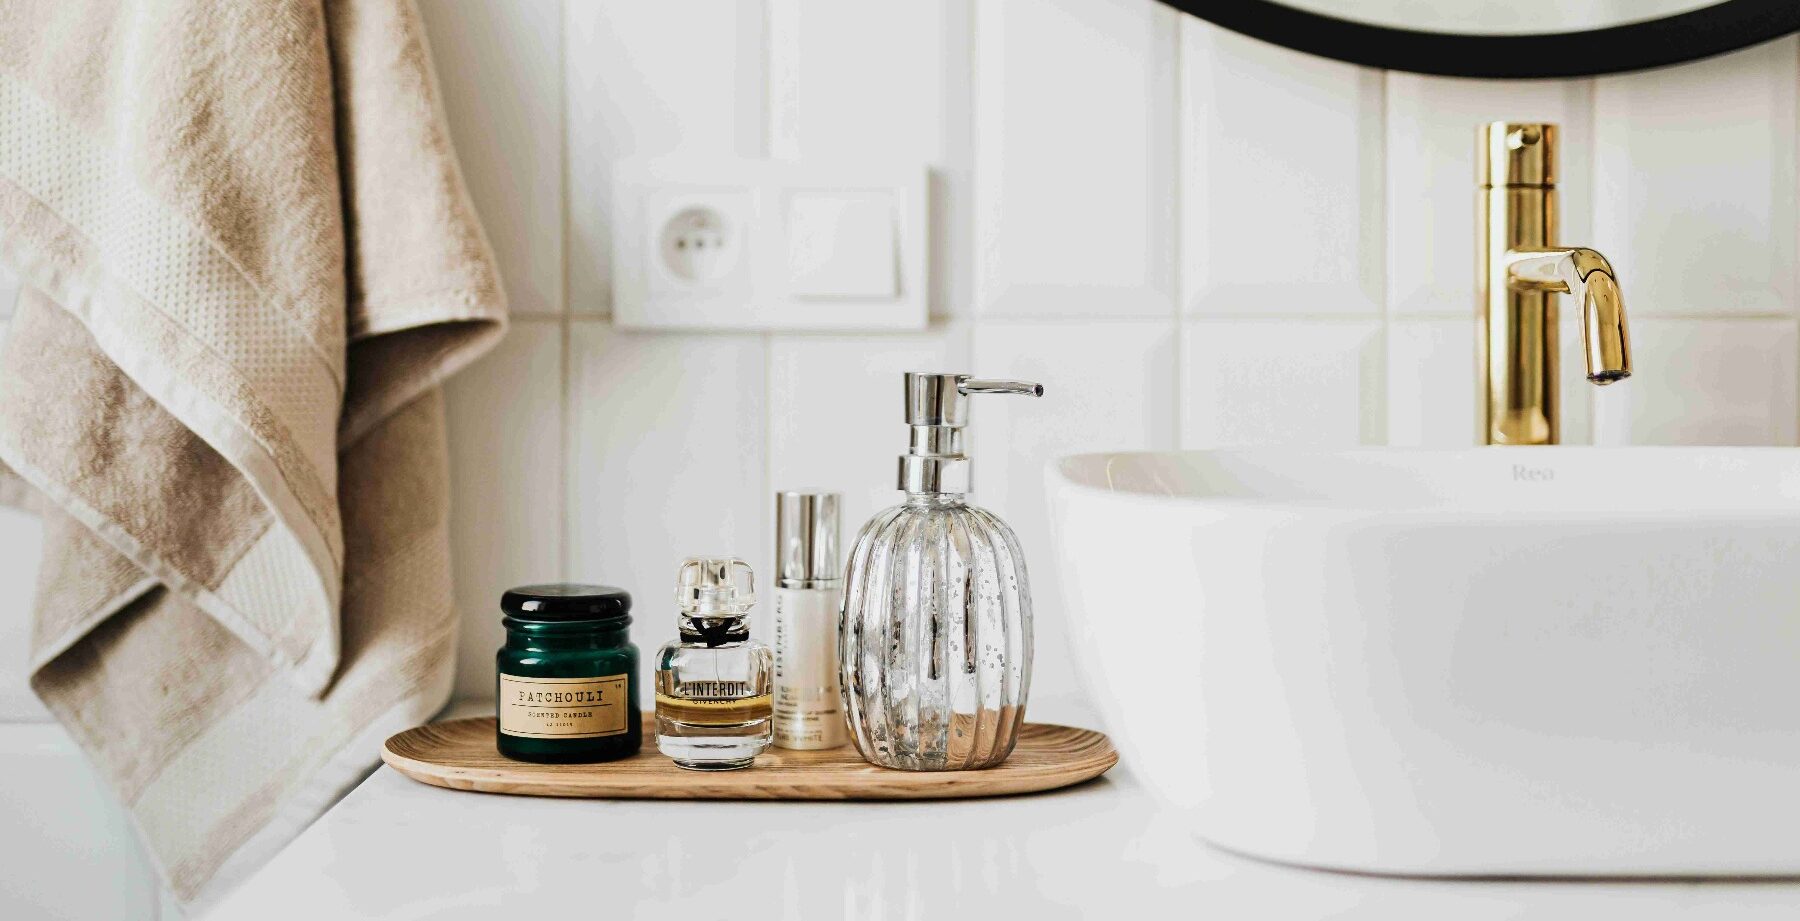
Feel good about looking good with this sustainable DIY bathroom upgrade. It’s easy on your wallet too!
Transform your storage and organization by replacing disposable containers with reusable alternatives. This not only reduces waste but also adds a chic and organized aesthetic to your bathroom space. Elevate your storage game while contributing to a greener, more eco-conscious lifestyle.
Steps:
- Assess Storage Needs: Evaluate the items in your bathroom that can be stored in reusable containers.
- Choose Containers: Opt for reusable containers made of durable materials like glass or BPA-free plastic.
- Label Containers: Label each container for easy identification and a polished look.
- Organize Shelves and Drawers: Arrange the reusable containers in an organized and visually pleasing manner.
- Dispose of Disposable Items: Properly dispose of disposable containers, minimizing environmental impact.
- Enjoy Tidy and Sustainable Storage: Revel in a bathroom that not only looks organized but also supports a sustainable lifestyle.
Install Beadboard or Wainscoting
Elevate your bathroom’s aesthetic by introducing a touch of classic charm with beadboard or wainscoting. This timeless DIY bathroom upgrade not only adds texture and visual interest but also protects your walls from daily wear and tear. Whether you prefer a traditional or modern look, beadboard and wainscoting provide a versatile backdrop for enhancing your bathroom’s style.
Steps:
- Measure and Plan: Assess the height for installation and plan the layout.
- Choose Material: Select a beadboard or wainscoting material that suits your design preferences.
- Prepare the Walls: Clean and prime the walls to ensure proper adhesion.
- Cut to Size: Cut the beadboard or wainscoting panels to fit the designated area.
- Install Panels: Affix the panels to the walls using adhesive or nails, following your layout plan.
- Finish and Paint: Fill any gaps or seams, sand the surface, and paint or finish as desired.
Paint Vanity Cabinets
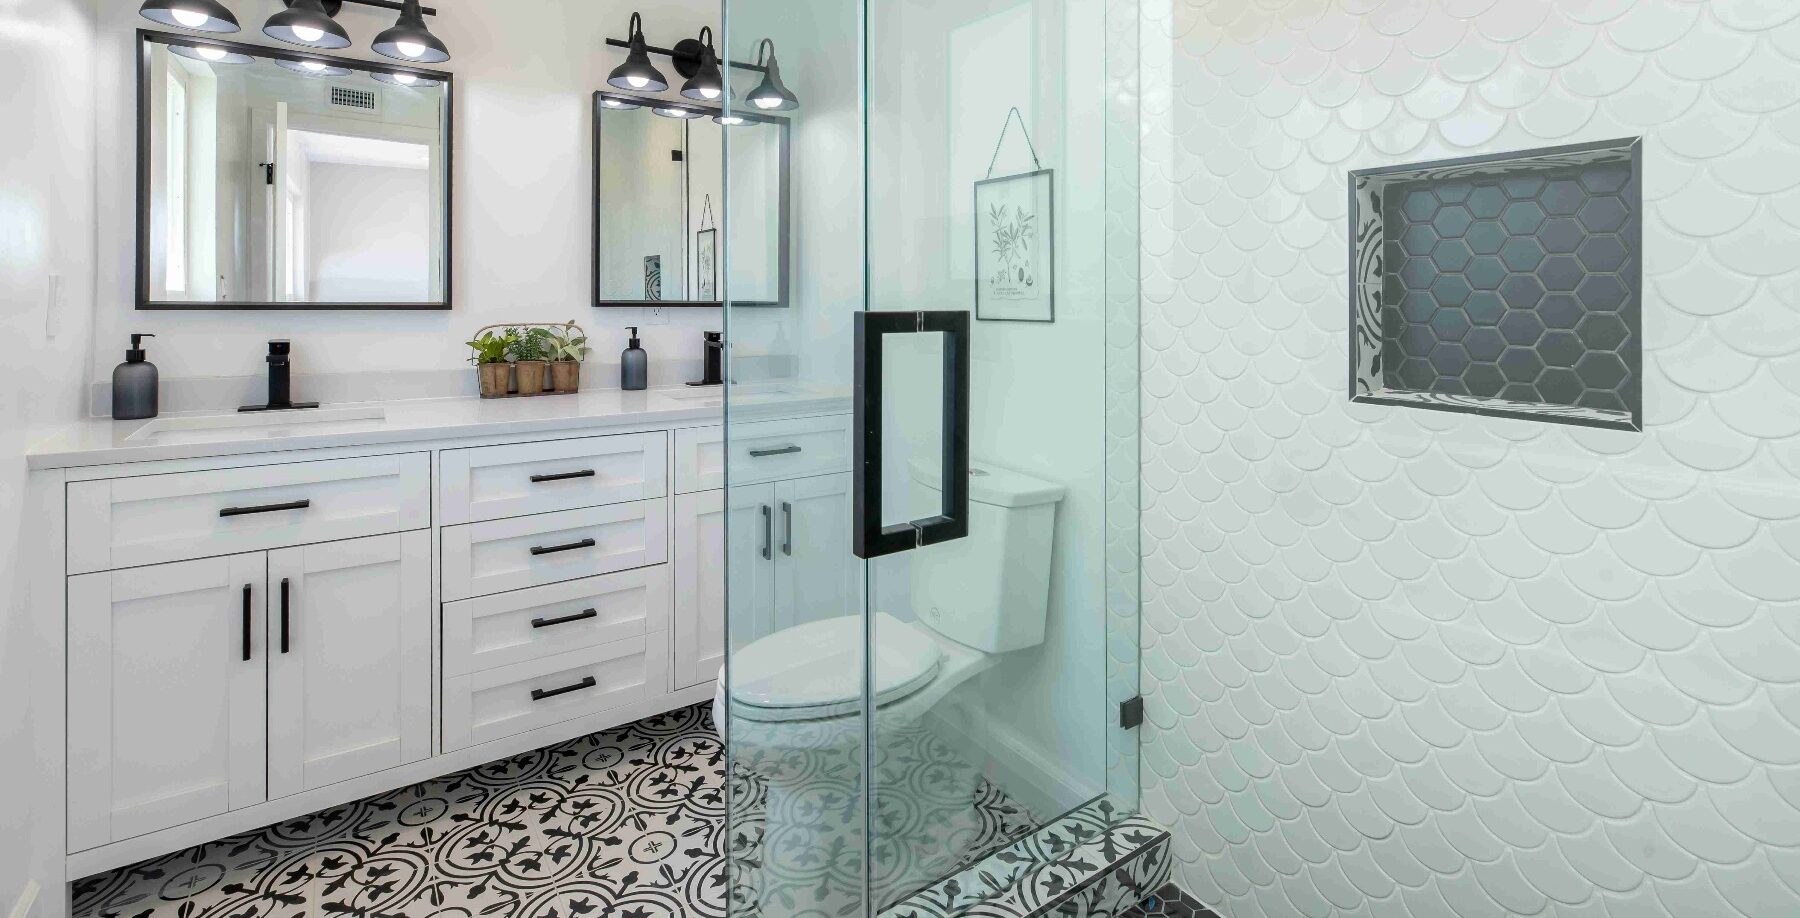
Revitalize your bathroom’s focal point by giving your vanity cabinets a stunning makeover. This DIY bathroom upgrade is a game-changer, allowing you to breathe new life into tired cabinets without breaking the bank. Whether you prefer a chic monochrome look or a bold pop of color, painting your vanity cabinets is a cost-effective way to achieve a stylish and personalized bathroom space.
Steps:
- Remove Hardware: Take off cabinet doors and remove handles and knobs.
- Clean and Sand: Thoroughly clean and sand the surfaces for better paint adhesion.
- Prime Surfaces: Apply a quality primer to ensure a smooth and durable paint finish.
- Choose Paint Color: Select a paint color that complements your bathroom’s overall theme.
- Apply Paint: Use a brush or roller to apply at least two coats of paint, allowing drying time between coats.
- Reassemble and Add New Hardware: Once the paint is dry, reattach doors and add new handles or knobs for a finishing touch.
Change Light Fixtures
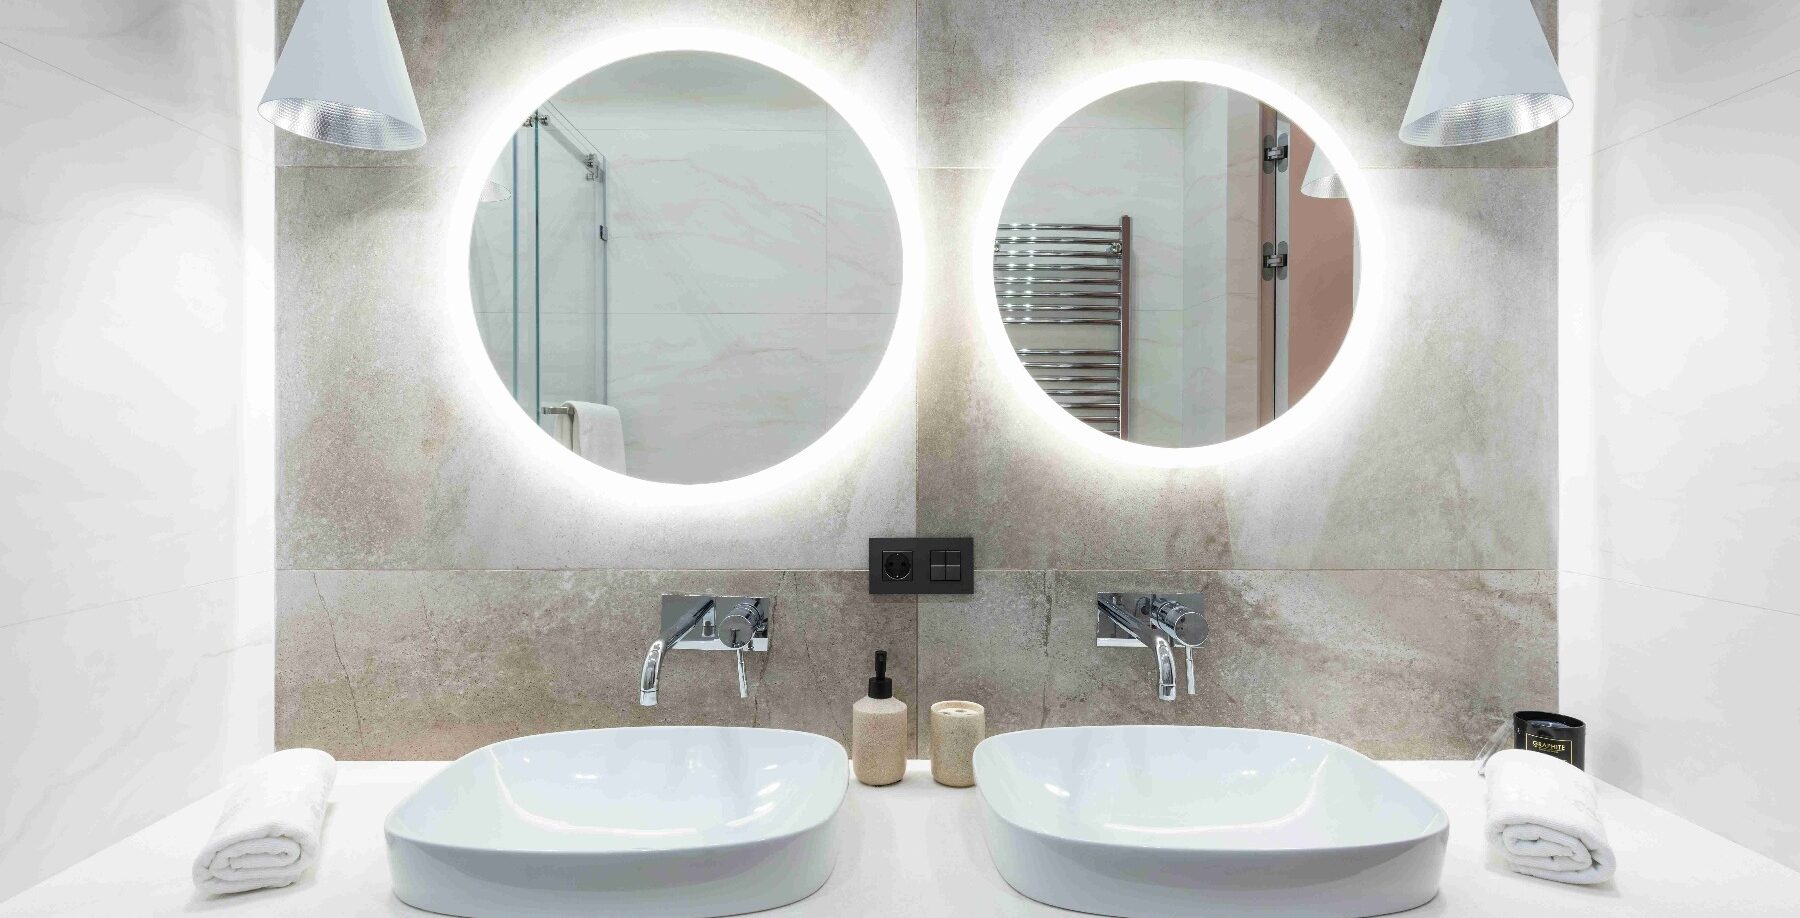
Shed a new light on your bathroom’s ambiance by undertaking this DIY bathroom upgrade – changing light fixtures. Swapping out outdated fixtures for modern, stylish alternatives is a quick and effective way to revamp your space. Illuminate your bathroom in style, creating a welcoming atmosphere that complements your overall design aesthetic.
Steps:
- Turn Off Power: Cut power to the existing light fixture at the circuit breaker.
- Remove Old Fixtures: Unscrew and remove the old light fixtures carefully.
- Check Wiring: Examine the wiring to ensure it’s in good condition.
- Choose New Fixtures: Select light fixtures that align with your bathroom’s theme and provide ample illumination.
- Install New Fixtures: Follow the manufacturer’s instructions to install the new fixtures securely.
- Turn On Power and Enjoy: Restore power, flip the switch, and bask in the renewed brilliance of your upgraded bathroom lighting.
Upgrade the Bath Fan
Tired of wiping down the mirror after every shower? This will keep your bathroom feeling clean and clear all day long. Enhance your bathroom’s comfort and functionality by upgrading the bath fan. This often-overlooked DIY improvement is a breath of fresh air – literally! A more efficient bath fan reduces humidity, prevents mold, and contributes to a more enjoyable and healthier bathroom environment.
Steps:
- Assess Your Current Fan: Determine the size and power of your existing bath fan.
- Choose a New Fan: Select a more powerful and energy-efficient bath fan that suits your bathroom size.
- Turn Off Power: Switch off the power to the existing fan at the circuit breaker.
- Remove the Old Fan: Uninstall the old fan and disconnect the wiring.
- Install New Fan: Follow the manufacturer’s instructions to install the new fan, connecting the wiring securely.
- Test and Enjoy: Turn the power back on, test the new fan, and revel in improved ventilation.
Replace Your Showerhead
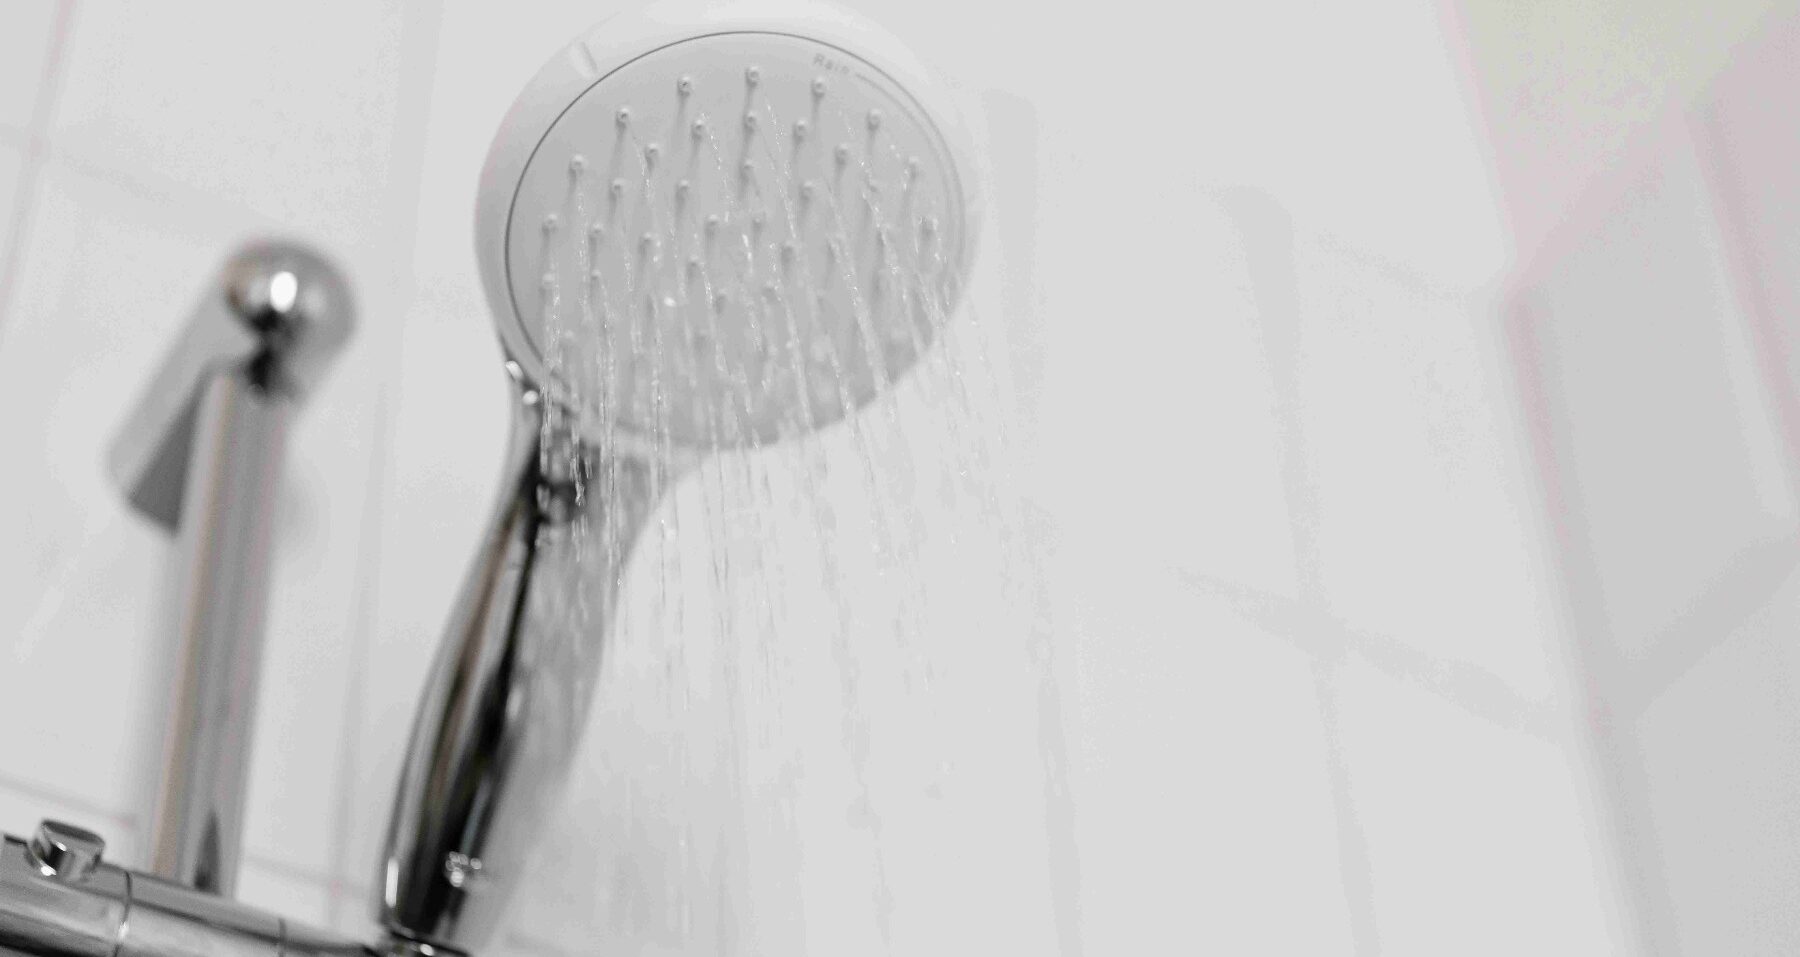
Elevate your daily shower routine with this DIY bathroom upgrade that brings a touch of luxury to your bathroom oasis. Replacing your showerhead is a simple yet effective way to enhance your bathing experience. Whether you prefer a rainfall sensation or a high-pressure massage, choosing the right showerhead can transform your shower into a spa-like retreat.
Steps:
- Turn Off Water: Shut off the water supply to the shower at the main valve.
- Remove Old Showerhead: Unscrew the existing showerhead using pliers or a wrench.
- Clean Threads: Clean the threads on the shower arm and apply the plumber’s tape for a secure seal.
- Choose Your New Showerhead: Select a showerhead that suits your preferences – rainfall, handheld, or massage.
- Install New Showerhead: Screw the new showerhead onto the shower arm, ensuring a snug fit.
- Test the Water Flow: Turn on the water and test the new showerhead for optimal water flow and comfort.
Overview
These DIY bathroom upgrades are the key to transforming your everyday routine into a luxurious and eco-conscious experience. From vibrant wall makeovers to timeless beadboard installations, each project adds a unique touch to your oasis. Explore the endless possibilities of DIY bathroom upgrades, and turn your space into a haven of comfort, style, and mindful living.
Transform your space with simple yet impactful projects.
Click, create, and make your bathroom a haven of style and comfort.
Upgrade today!


