
8+ DIY Furniture Makeovers: Transform Your Space with Creative Flair!
Transform your home with DIY Furniture Makeover ideas! Explore 8+ creative and sustainable projects to elevate your space. Embrace the style!
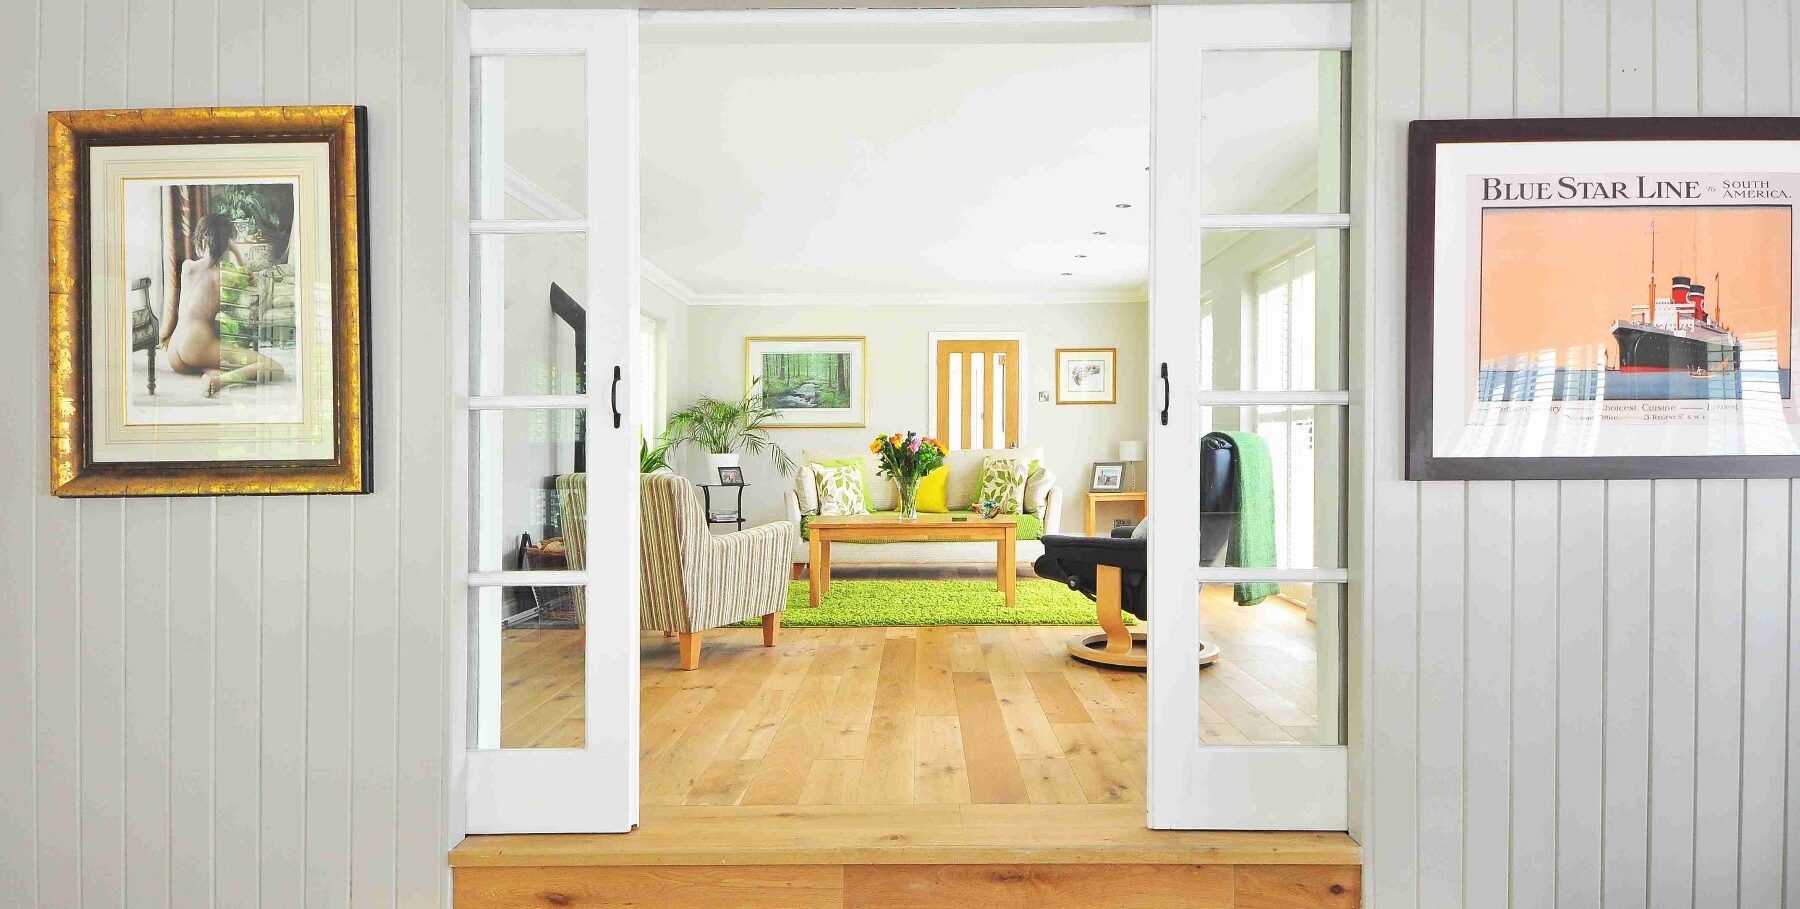
DIY Furniture Makeover
Engaging in a DIY furniture makeover is not just about being creative.
It’s a transformative experience that breathes new life into tired pieces, turning them into personalized works of art.
Exploring the details of every element, from selecting the perfect piece to mastering the skill of refurbishment, reveals a realm where your creativity assumes a prominent role.
Brace yourself for an adventure that not only rejuvenates your space but also allows you to infuse your unique style into every brushstroke and polish.
Join me in uncovering the secrets to an outstanding DIY furniture makeover.
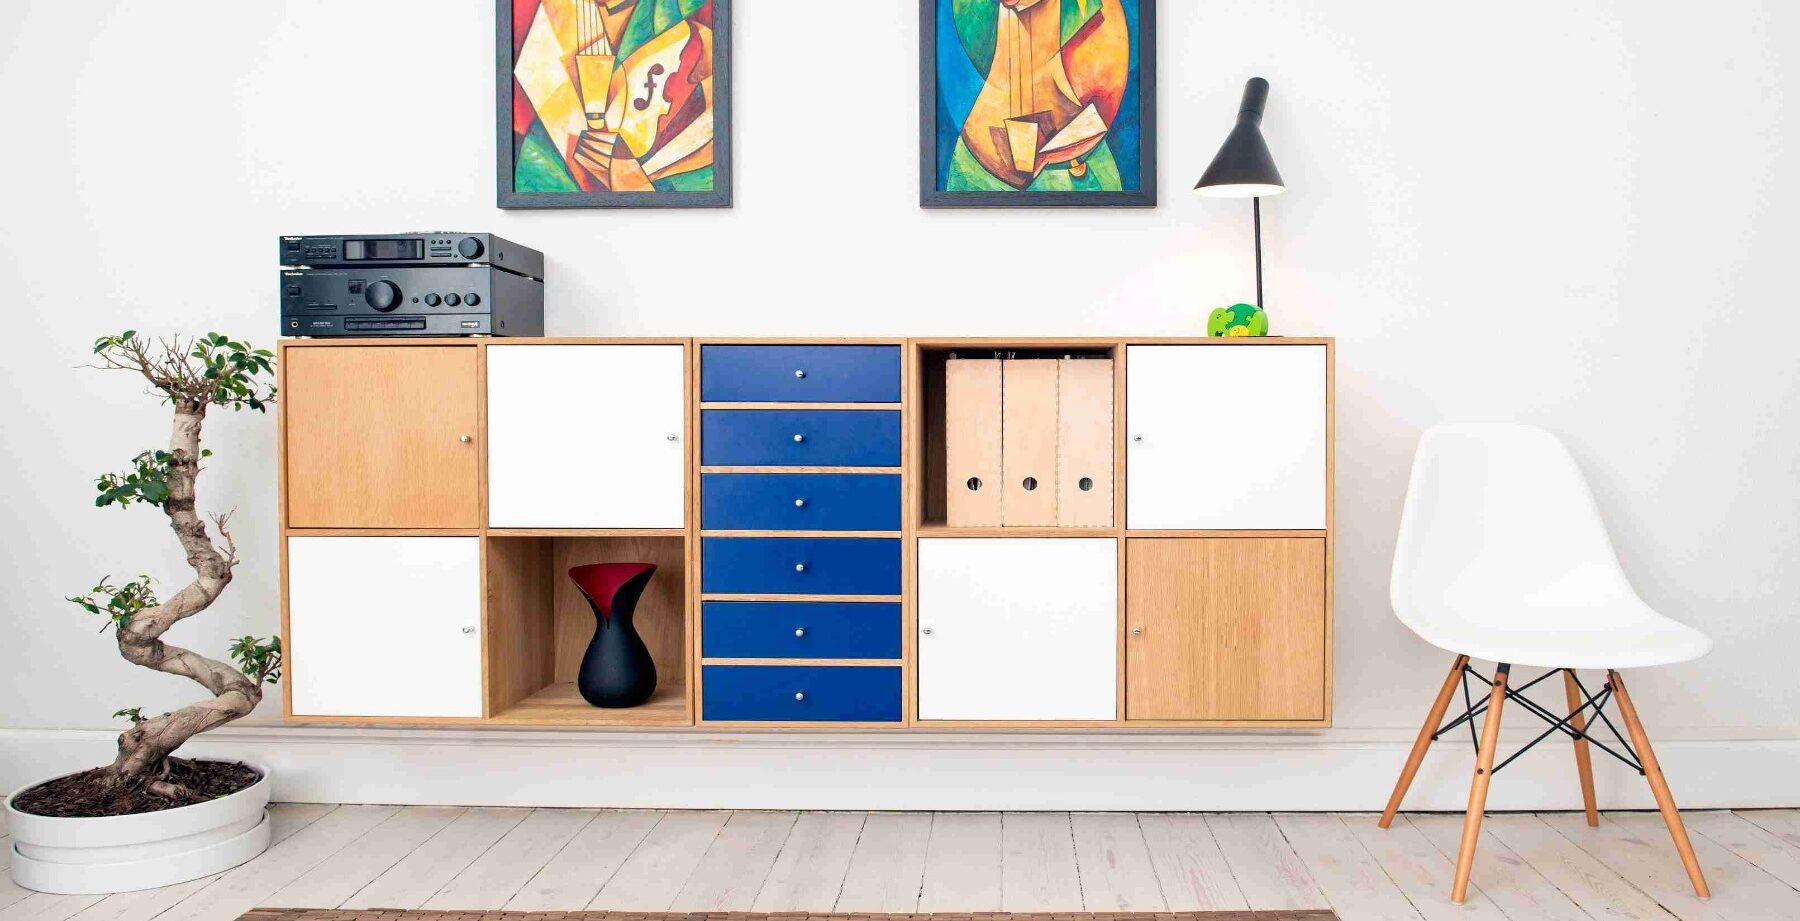
Chalk Paint Magic
In DIY furniture makeovers, Chalk Paint Magic stands out for its simplicity and transformative results. This versatile medium, celebrated for its matte finish and surface adaptability, turns tired pieces into captivating works of art. Picture reviving a vintage dresser or elevating a basic table with just a touch of chalk paint – it’s accessible and rewarding for DIY enthusiasts of all levels.
Steps to Achieve Chalk Paint Magic:
- Prepare Your Canvas: Thoroughly clean and smooth the furniture surface.
- Select Your Palette: Choose chalk paint colors aligned with your aesthetic.
- Artful Application: Use a quality brush for an even coat, experimenting with distressing or layering.
- Seal the Brilliance: Safeguard your creation with a clear wax or sealant.
- Witness the Transformation: Experience the enchantment as DIY furniture makeovers take center stage.
Decoupage Delight
Transitioning from the enchantment of Chalk Paint Magic, let’s explore the captivating world of Decoupage Delight in our DIY furniture makeovers. This technique involves more than mere aesthetics; it allows you to craft narratives on your furniture pieces. Decoupage, derived from the French word “decouper,” meaning to cut out, involves the artful layering of paper cutouts onto surfaces, transforming plain furniture into personalized masterpieces.
Steps to Achieve Decoupage Delight:
- Collect Your Story: Gather paper materials such as vintage maps, sheet music, or personal memorabilia.
- Prepare the Canvas: Ensure a clean and smooth furniture surface for optimal adhesion.
- Artful Arrangement: Arrange and adhere the cutouts in a visually pleasing manner, telling a unique story.
- Seal the Tale: Apply a sealant or decoupage medium to protect the design and provide a seamless finish.
- Admire the Narrative: Step back and marvel at the personalized tales now woven into your DIY furniture makeovers.
Hardware Upgrade
Shifting our focus to the transformative power of details, let’s delve into the world of Hardware Upgrade in DIY furniture makeovers. Often overlooked, changing or upgrading hardware can breathe new life into your pieces. This approach allows you to infuse modernity, elegance, or even a vintage charm by simply swapping handles, knobs, or other decorative elements.

Steps for Hardware Upgrade:
- Assess Your Furniture: Identify the hardware elements that can be easily replaced or upgraded.
- Select the Right Fit: Choose hardware that complements the overall style and theme of your DIY furniture makeover.
- Unveil the Transformation: Carefully remove old hardware and install the new pieces, paying attention to symmetry and alignment.
- Embrace Variety: Experiment with different materials, finishes, or styles to achieve the desired aesthetic impact.
- Witness the Details Speak: Step back and appreciate how these small hardware changes contribute significantly to the overall appeal of your revamped furniture.
Monochrome Makeovers
Transitioning into the realm of modern aesthetics, Monochrome Makeovers offer a sophisticated approach to DIY furniture transformations. The timeless elegance of monochromatic color schemes allows for seamless integration into various design themes, creating a cohesive and visually appealing result in your furniture makeovers.
Steps for Monochrome Makeovers:
- Select Your Color Palette: Choose a single color or varying shades within the same color family for a harmonious look.
- Prepare the Surface: Ensure a clean and well-prepared furniture surface before applying the monochromatic paint.
- Even Application: Apply the chosen color evenly, covering the entire surface for a sleek and unified appearance.
- Accentuate Details: Consider highlighting specific furniture details or edges with a slightly lighter or darker shade for added depth.
- Appreciate Timeless Simplicity: Stand back and revel in the understated elegance achieved through the simplicity of monochrome DIY furniture makeovers.
Geometric Patterns
Adding a touch of contemporary flair to our DIY furniture makeovers, let’s delve into the world of Geometric Patterns. This design approach introduces structure and modernity to your pieces, transforming them into eye-catching focal points within your living space.
Steps for Infusing Geometric Patterns:
- Visualize the Design: Plan the geometric pattern you want to create, considering the furniture’s shape and size.
- Masking Techniques: Utilize masking tape or stencils to create clean and precise geometric shapes.
- Select Your Colors: Choose a color palette that complements the existing decor or introduces a bold contrast.
- Paint with Precision: Apply paint within the defined geometric shapes, ensuring sharp lines and a polished finish.
- Step Back and Admire: Witness how geometric patterns breathe new life into your furniture, adding a touch of contemporary sophistication.
Upcycled Industrial Vibes
For those drawn to the allure of industrial aesthetics, Upcycled Industrial Vibes presents a captivating approach to DIY furniture makeovers. By incorporating raw materials, distressed finishes, and metal accents, you can transform ordinary pieces into statement-making industrial-inspired furniture.
Steps for Achieving Upcycled Industrial Vibes:
- Select Raw Materials: Consider materials like reclaimed wood, metal, or salvaged items to capture an industrial feel.
- Distress for Character: Embrace distressing techniques to create a worn-in, rustic appearance on the furniture.
- Metal Accents: Introduce metal elements such as handles, legs, or detailing to enhance the industrial vibe.
- Experiment with Finishes: Explore finishes like matte or oxidized textures to add depth and authenticity.
- Marvel at the Raw Elegance: Step back and appreciate how these industrial elements seamlessly blend, elevating your DIY furniture makeovers with a touch of raw elegance.
Pallet Furniture Revolution
Shifting our focus to sustainability, the Pallet Furniture Revolution offers a chic and eco-friendly avenue for DIY furniture makeovers. Embracing the versatility of pallets, you can create unique and stylish pieces while contributing to a more sustainable lifestyle.
Steps for Pallet Furniture Revolution:
- Source Pallets Responsibly: Obtain pallets from sustainable sources, ensuring they are safe for use in furniture projects.
- Disassemble with Care: Take apart the pallets carefully, salvaging usable wood and minimizing waste.
- Design with Purpose: Plan your furniture design, considering the dimensions and features you want to incorporate.
- Assemble Your Creation: Put the pallet pieces together, using appropriate fasteners and techniques for a sturdy result.
- Admire the Sustainable Chic: Revel in the satisfaction of creating chic and sustainable furniture through the Pallet Furniture Revolution in your DIY endeavors.
Fabric Scrap Revival
In a celebration of creativity and sustainability, the Fabric Scrap Revival introduces a delightful approach to DIY furniture makeovers. By repurposing fabric scraps, you can add a touch of patchwork elegance to your furniture, breathing new life into every piece.
Steps for Fabric Scrap Revival:
- Gather Your Fabric Scraps: Collect an assortment of fabric scraps in various colors and patterns.
- Prep Your Furniture Canvas: Ensure the furniture surface is clean and ready for the fabric application.
- Create a Patchwork Design: Arrange the fabric scraps in a visually appealing patchwork design, ensuring a cohesive look.
- Adhere with Creativity: Use fabric glue or a suitable adhesive to affix the fabric scraps to the furniture surface.
- Celebrate Patchwork Elegance: Step back and witness the transformation as fabric scraps revive your furniture with a unique and charming patchwork design.
Natural Finishes
Concluding our journey through DIY furniture makeovers, let’s embrace the beauty of Natural Finishes. For those seeking an eco-friendly approach, natural finishes such as beeswax or homemade vinegar-based stains offer a sustainable and chemical-free option to enhance the allure of your furniture.
Steps for Achieving Natural Finishes:
- Choose Eco-Friendly Options: Opt for natural finishes like beeswax, linseed oil, or homemade vinegar-based stains.
- Prepare the Surface: Ensure the furniture surface is clean and ready to apply natural finishes.
- Apply with Care: Use a brush or cloth to apply the chosen natural finish evenly across the furniture.
- Embrace the Patina: Allow the natural finish to enhance the wood’s beauty, creating a unique and organic patina over time.
- Celebrate Eco-Friendly Beauty: Step back and appreciate the eco-friendly beauty that natural finishes bring to your DIY furniture makeovers.
Overview
In our exploration of DIY furniture makeovers, remember that each idea presented here is a brushstroke in your artistic journey. From the timeless charm of Chalk Paint Magic to the sustainable elegance of Natural Finishes, your furniture tells a story uniquely yours. Embrace the joy of creation, the thrill of transformation, and the satisfaction of sustainable practices. Whether you opt for rustic nostalgia, modern minimalism, or eclectic vibrancy, let your DIY furniture makeovers reflect not just style, but the artistry of a space that truly feels like home.
“Ready to unleash your creativity and transform your space? Start your DIY furniture makeover journey today!”
Happy crafting!


