
7+ Best Tips to Craft Your Own DIY Barbie Box
Discover how to create your own DIY Barbie Box with our expert tips and step-by-step guide. Elevate your Barbie playtime today!
You can make a Barbie photo booth, a DIY Barbie box, or simply find innovative storage solutions with this guide.
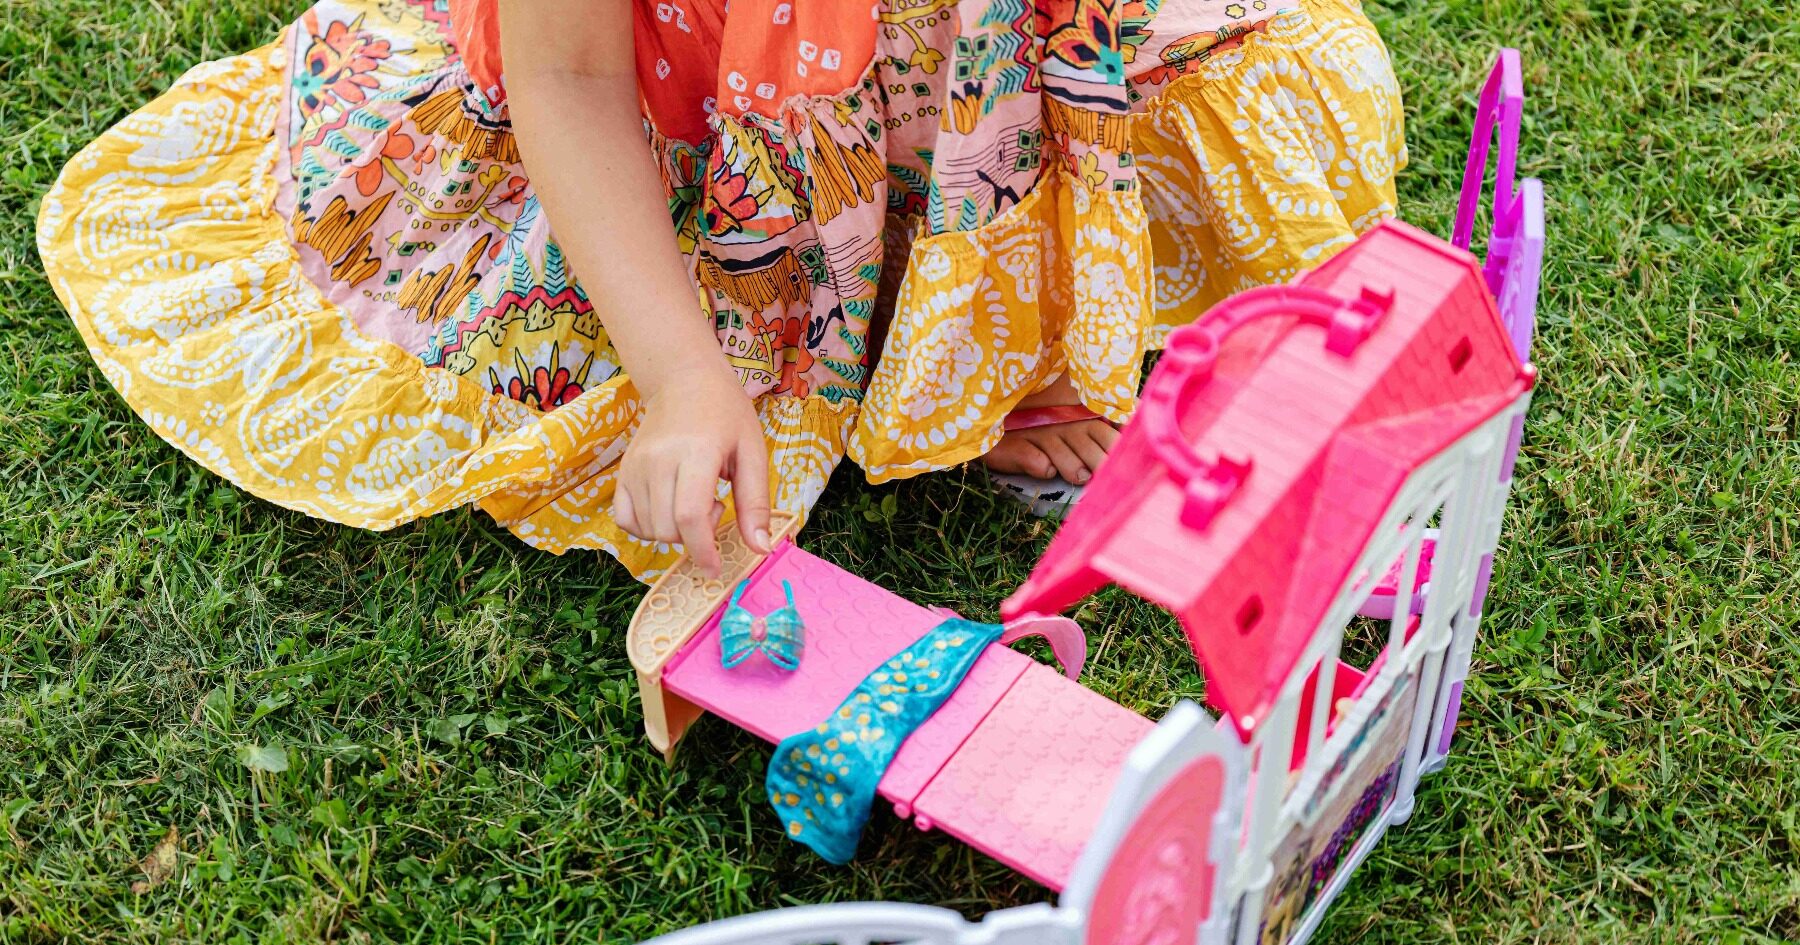
Barbie enthusiasts, get ready to embark on a delightful crafting journey as we explore the world of DIY Barbie boxes! With a dash of creativity and a sprinkle of imagination, you’ll transform ordinary materials into extraordinary Barbie-themed masterpieces.
The time has come for us to release our inner Barbie designer and let the creative juices flow!
Step-by-Step Instructions for Making DIY Barbie Box
Gathering Materials
Before diving into your DIY Barbie box project, gather all the necessary materials. You can use a variety of materials such as
- cardboard,
- fabric,
- paints,
- embellishments
to bring your Barbie box to life.
Designing the Structure
Sketch out the design for your Barbie box, considering features like compartments, LED lights, and decorative elements. Let your imagination run wild as you envision the perfect Barbie oasis.
Constructing the DIY Barbie Box
Begin by constructing the base of your Barbie box using sturdy cardboard. Cut out the desired shape and size, and assemble the pieces using glue or tape. Reinforce the corners for added durability.
Adding Decorative Touches
Now comes the fun part – decorating your Barbie box! Use
- paints,
- glitter,
- stickers,
- and other embellishments to add flair and personality
to your creation. Consider incorporating Barbie-themed patterns or motifs for an authentic touch.
Creating Compartments
If you’re using your Barbie box for storage or play, consider adding compartments to organize Barbie accessories and outfits. Use smaller boxes or dividers to create designated spaces for shoes, clothes, and accessories.
Incorporating LED Lights
For an extra dose of glamour, incorporate LED lights into your Barbie box design. Illuminate the interior with twinkling lights to create a magical ambiance fit for Barbie herself.
Personalizing Your DIY Barbie Box
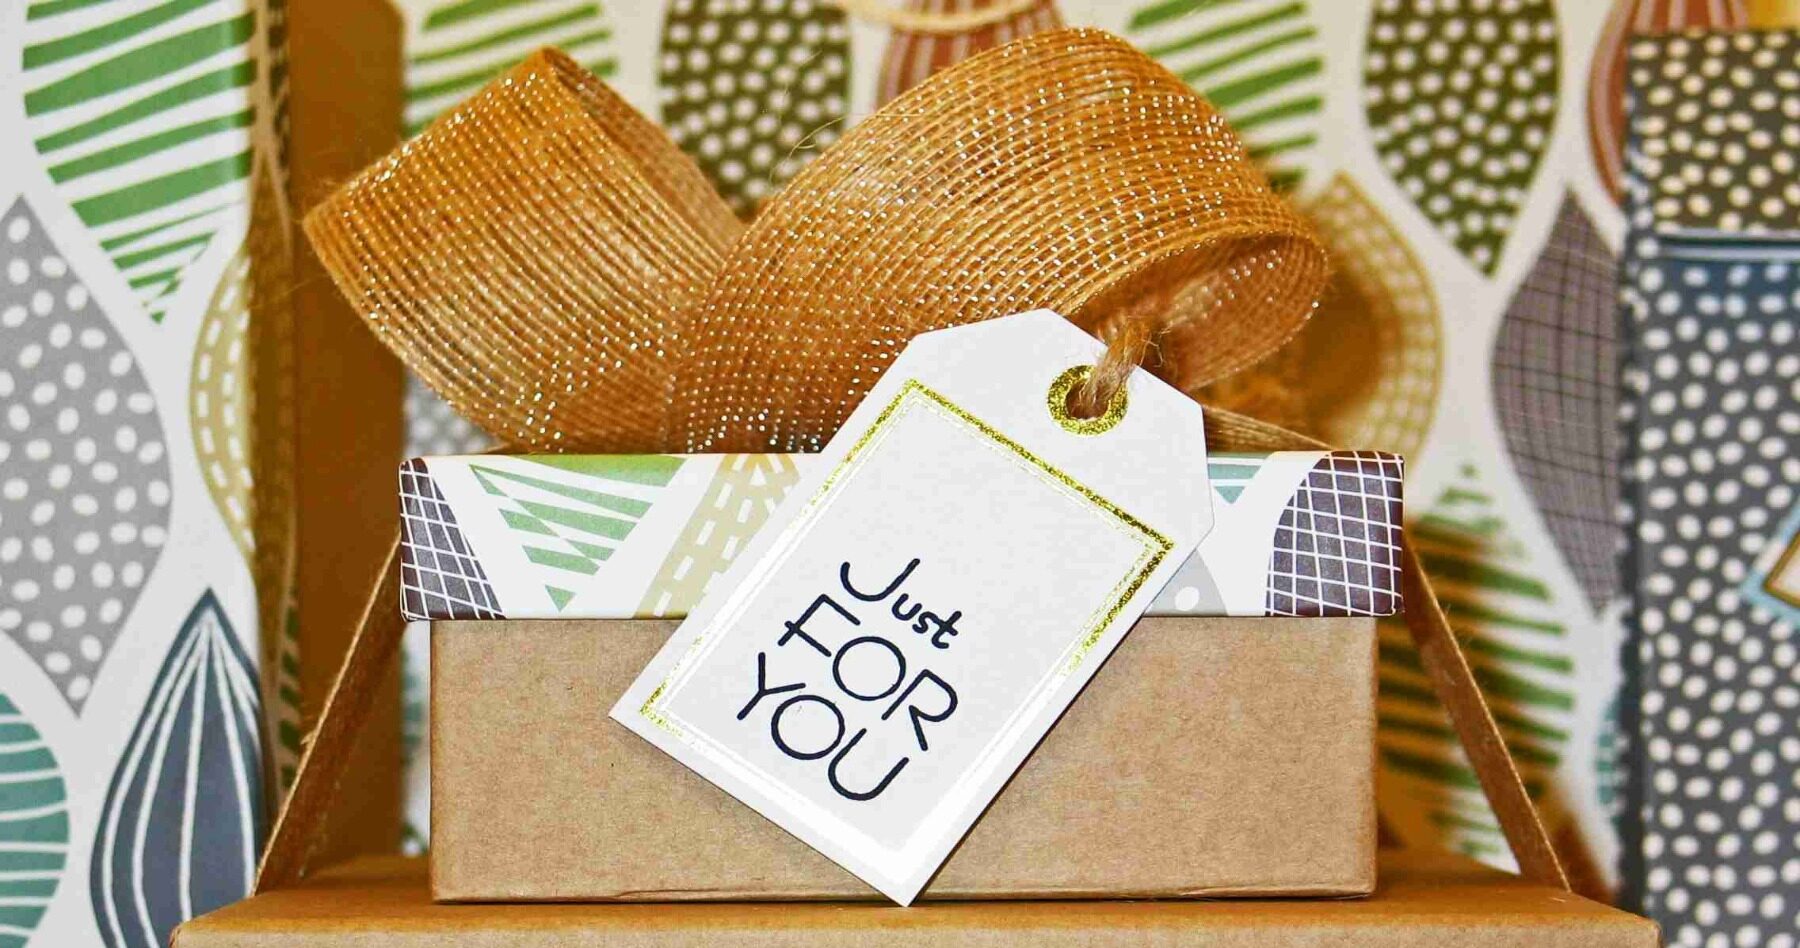
Make your Barbie box truly unique by personalizing it with your creative touches. Add photos, quotes, and other personal mementos to make it feel like home for Barbie and her friends.
Assembling the Barbie Photo Booth
If you’re creating a Barbie photo booth, set up a backdrop using colorful fabric or paper. Add props like miniature furniture, accessories, and backdrops to create a fun and interactive photo experience for Barbie and her friends.
Designing a DIY Barbie Box Costume
To create a Barbie box costume, cut arm and head holes in a large cardboard box and decorate it to resemble a Barbie box. Add straps or handles for easy wearing and accessorize with Barbie-themed props and accessories.
Final Touches
Once your DIY Barbie box is complete, step back and admire your handiwork. Make any final adjustments or additions to ensure that your Barbie box is picture-perfect.
Tips and Tricks for the Fully Customized DIY Barbie Box
-
Use Recycled Materials
Get creative and eco-friendly by repurposing materials from around your home, such as cardboard boxes, fabric scraps, and old decorations.
-
Experiment with Themes
Explore different themes for your Barbie box, such as beach, glam, or vintage, to add personality and charm.
-
Get the Whole Family Involved
Turn your DIY Barbie box project into a fun family activity by involving kids, parents, and even grandparents in the crafting process.
-
Don’t Be Afraid to Experiment
Let your imagination soar and don’t be afraid to try out new techniques and ideas. The beauty of DIY is that there are no limits to what you can create!
Creating a Barbie Photo Booth
Setting the Stage
Begin by selecting a suitable location for your Barbie photo booth. Choose a backdrop that complements your Barbie theme, such as a glittery curtain, a beach scene, or a glamorous city skyline.
Decorating the Backdrop
Use colorful fabric, paper, or cardboard to create a vibrant backdrop for your Barbie photo booth. Add decorative elements like flowers, balloons, and fairy lights to enhance the atmosphere and create a magical setting.
Adding Props and Accessories
No photo booth is complete without an array of fun props and accessories! Gather Barbie-themed props such as sunglasses, hats, boas, and miniature furniture to add flair and excitement to your photo booth experience.
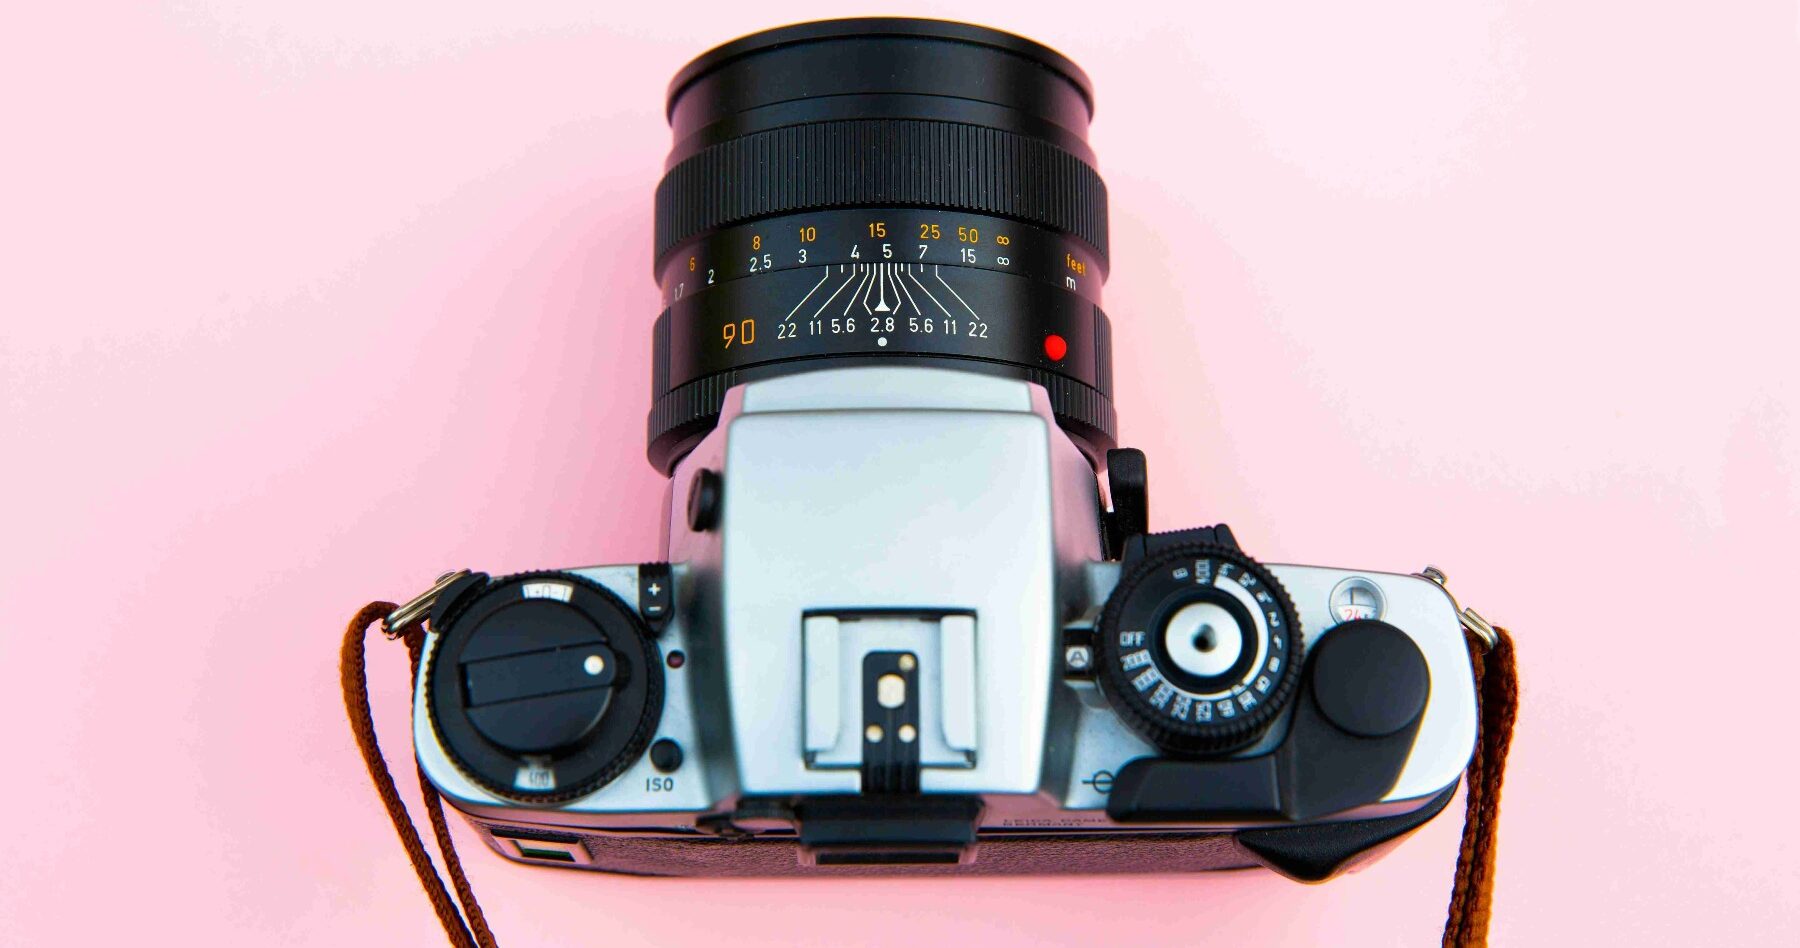
Setting Up the Camera
Position a camera or smartphone on a tripod in front of the photo booth to capture all the fun-filled moments. Make sure the camera is set to the appropriate settings for indoor or outdoor photography and adjust the lighting as needed.
Striking a Pose
Encourage Barbie and her friends to strike a pose and capture their best moments in front of the photo booth. Provide cues and inspiration for different poses and expressions to create a variety of memorable photos.
Printing and Displaying Photos
After the photo session, print out the photos using a portable printer or visit a local photo printing service. Display the photos creatively, such as on a bulletin board, photo album, or digital frame, for all to enjoy.
Innovative Storage Solutions for DIY Barbie Box
Designing Functional Compartments
When creating a DIY Barbie box for storage, consider designing functional compartments to organize Barbie accessories, outfits, and other essentials. Use dividers, small boxes, or pouches to keep items neatly sorted and easily accessible.
Utilizing Vertical Space
Maximize storage space by utilizing vertical shelving or hanging organizers inside your Barbie box. Install hooks, rods, or shelves to store Barbie clothing, accessories, and playsets while keeping them within reach.
Incorporating Hidden Storage
Get creative with hidden storage solutions to keep Barbie’s accessories out of sight when not used. Consider adding secret compartments, drawers, or sliding panels to conceal smaller items and maintain a clutter-free environment.
Customizing Labels and Tags
Keep track of Barbie’s belongings by customizing labels and tags for each storage compartment. Use colorful markers, stickers, or printable labels to identify the contents of each container and make organizing a breeze.
Creating Multi-Purpose Furniture
Transform ordinary furniture pieces into multi-purpose storage solutions for Barbie’s world. Repurpose items like shoe racks, bookshelves, or storage bins to serve as stylish and functional storage units for Barbie accessories and playsets.
Tips and Tricks for Barbie Photo Booth
-
DIY Barbie Photo Props
Create your own DIY Barbie-themed photo props using craft foam, paper, and wooden sticks. Get creative with designs like Barbie’s iconic pink convertible, dream house, or pet accessories.
-
Repurposed Storage Containers
Give old shoeboxes, makeup organizers, or jewelry trays a new lease on life by repurposing them as storage containers for Barbie’s wardrobe and accessories.
-
Interactive Play Spaces
Design interactive play spaces within your Barbie storage box, such as a dressing room, fashion runway, or dream bedroom, to inspire imaginative play and storytelling.
Conclusion
With a little creativity and imagination, crafting your own DIY Barbie box is a rewarding and enjoyable experience for Barbie enthusiasts of all ages. Whether you’re creating a Barbie photo booth, a Barbie box costume, or simply seeking innovative storage solutions, the possibilities are endless. So gather your materials, unleash your creativity, and let the Barbie adventures begin!
Stay tuned for more inspiring DIY projects and Barbie-themed creations.
Until next time, happy crafting!


